Scrap Happy: Fabric Postcard
Maybe you are wanting to get mom some flowers, but she doesn’t have a green thumb or she doesn’t like you to waste your money on something that will die in a few days. A fabric postcard with flowers is the perfect solution. You can give flowers and a thoughtful note that she can keep on her nightstand or frame to hang on the wall.
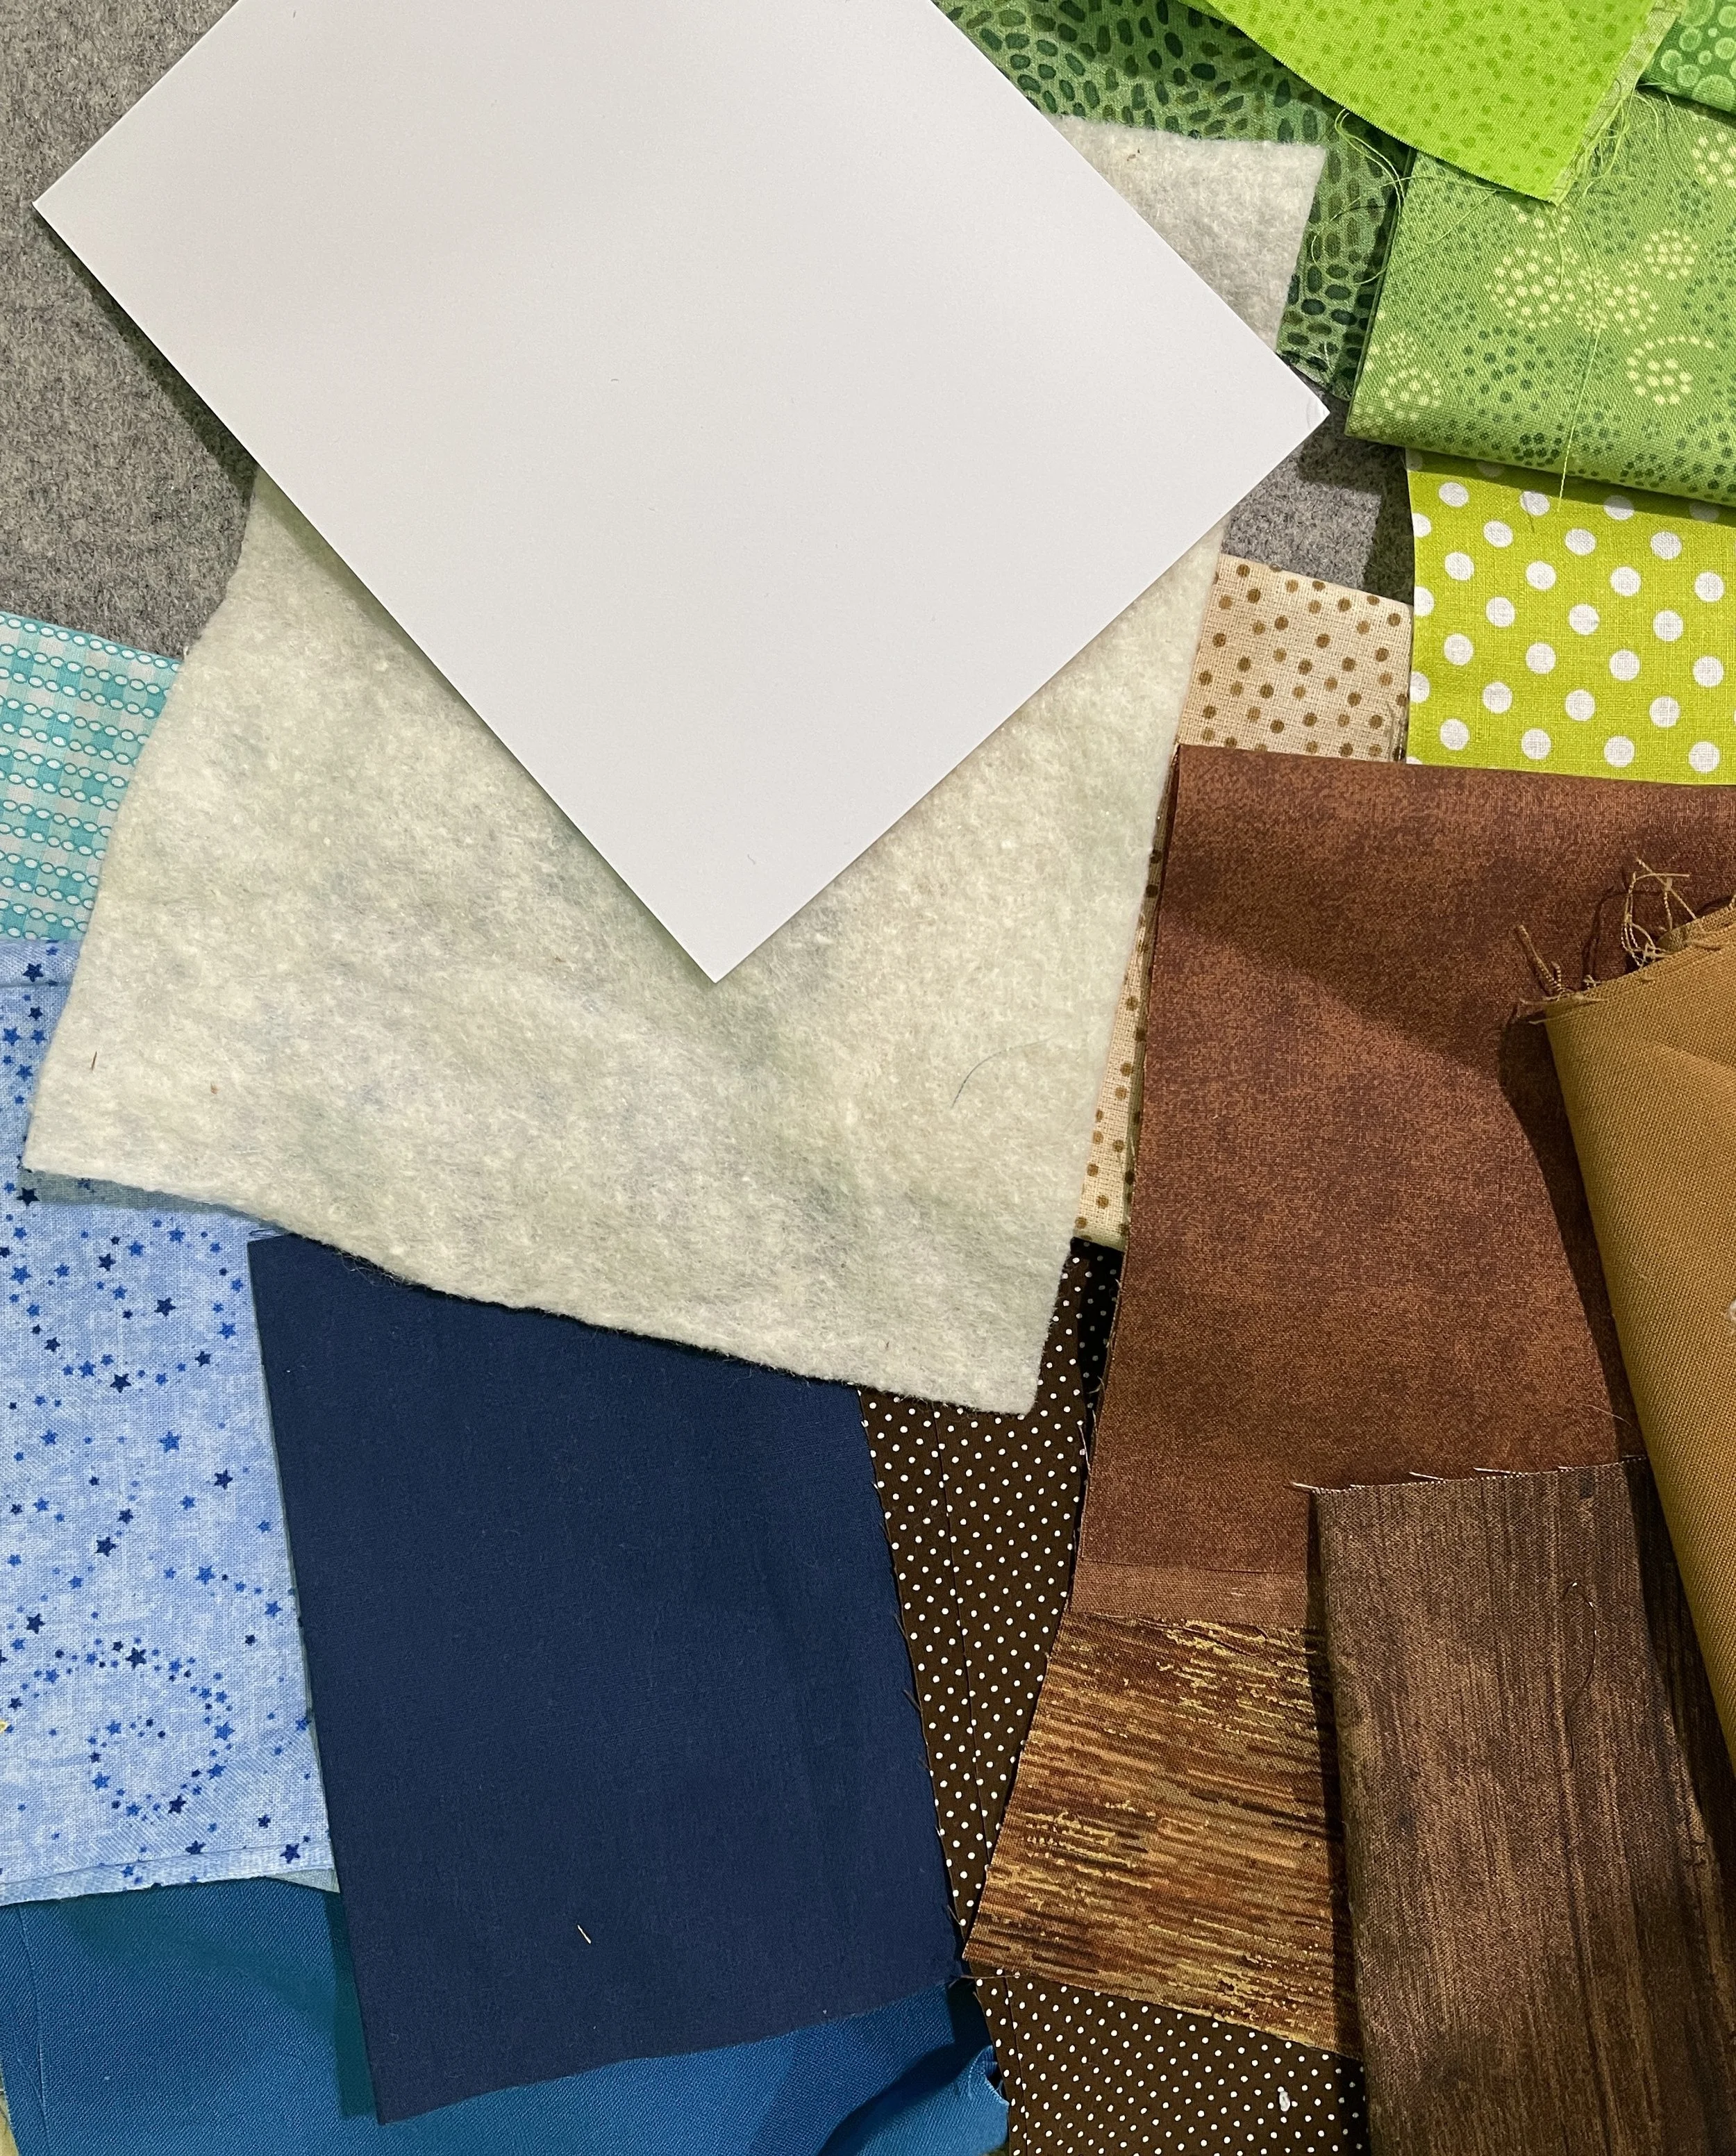
Supplies Needed:
(7 or more) card stock hexagon shapes (it takes 7 shapes for one flower) If you are making a hexagon flower for your fabric postcard you will need the hexagon shapes. If you are doing another design, then omit the hexagon shapes. Here is a link to a sheet of 1/2” hexagon shapes and a template.
(1) 5” X 7” card stock (for the post card)
(1) 5” X 7” piece of batting (for the post card)
Scraps of fabric for the background that can be pieced together to make at least a 5” X 7” piece of fabric or a single piece of 5” X 7” piece of fabric.
Scraps of fabric for your flowers or whatever design you choose to make.
Some type of fusible appliqué product. (I use either Mistyfuse or Sulky Perfect Applique’)
Fabric glue stick (I use Sue Daley glue pen) and/or spray starch or flattening spray (I use either spray starch or flatter)
Pen or chalk marker
Hand needle
Thin thread for hand-stitching (I use Aurafil 80wt or 100wt)
Fabric scissors
Standard sewing equipment (sewing machine, thread, rotary cutter, ruler, mat)
Instructions:
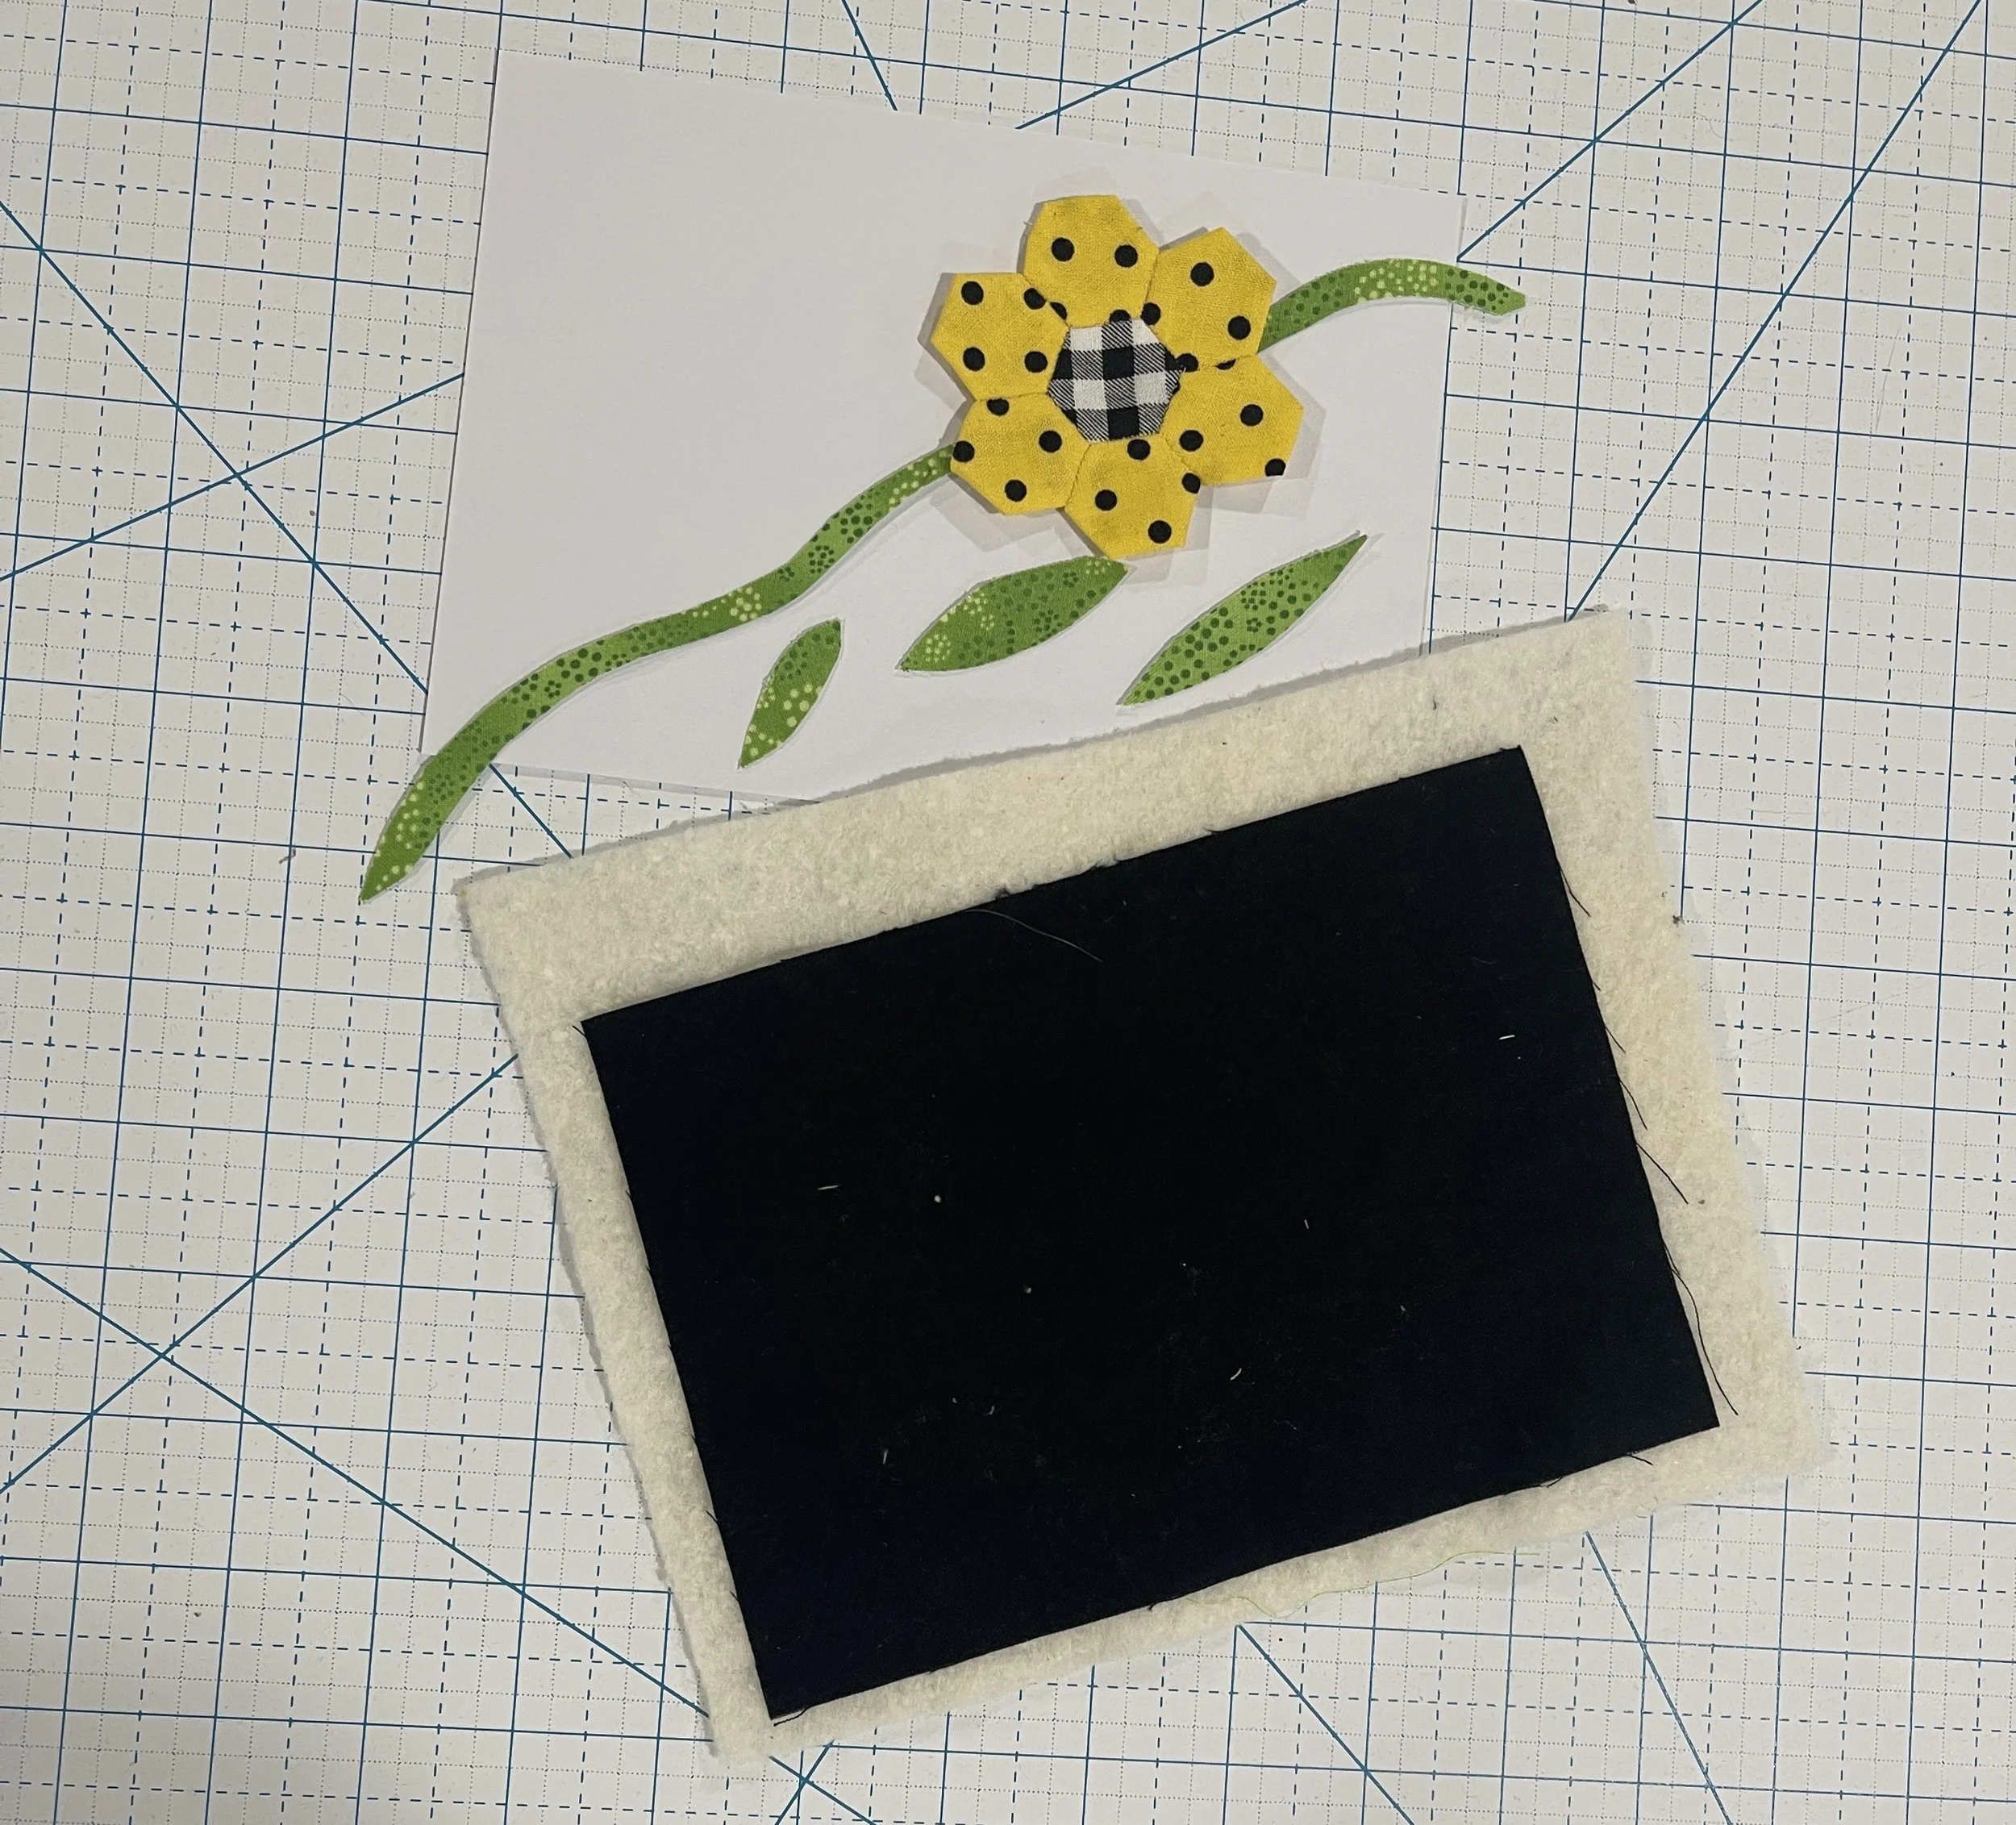
Decide on your design. It would be best to sketch at least a rough draft to guide you through your creative process. It doesn’t have to be perfect. It is just to be used as a guide to get the placement and sizes correctly. (In my sketch I notice my leaves are bigger than my flower. I will make that change when I make the actual fabric postcard.)

Using your background scraps or a single piece of fabric, create a 5” X 7” piece of fabric for the background.
Place your fabric on top of the batting. The wrong side of the fabric should be against the batting. If you are using a solid piece of fabric it won’t matter, but if you are using a printed fabric make sure the right side of the fabric is facing you.
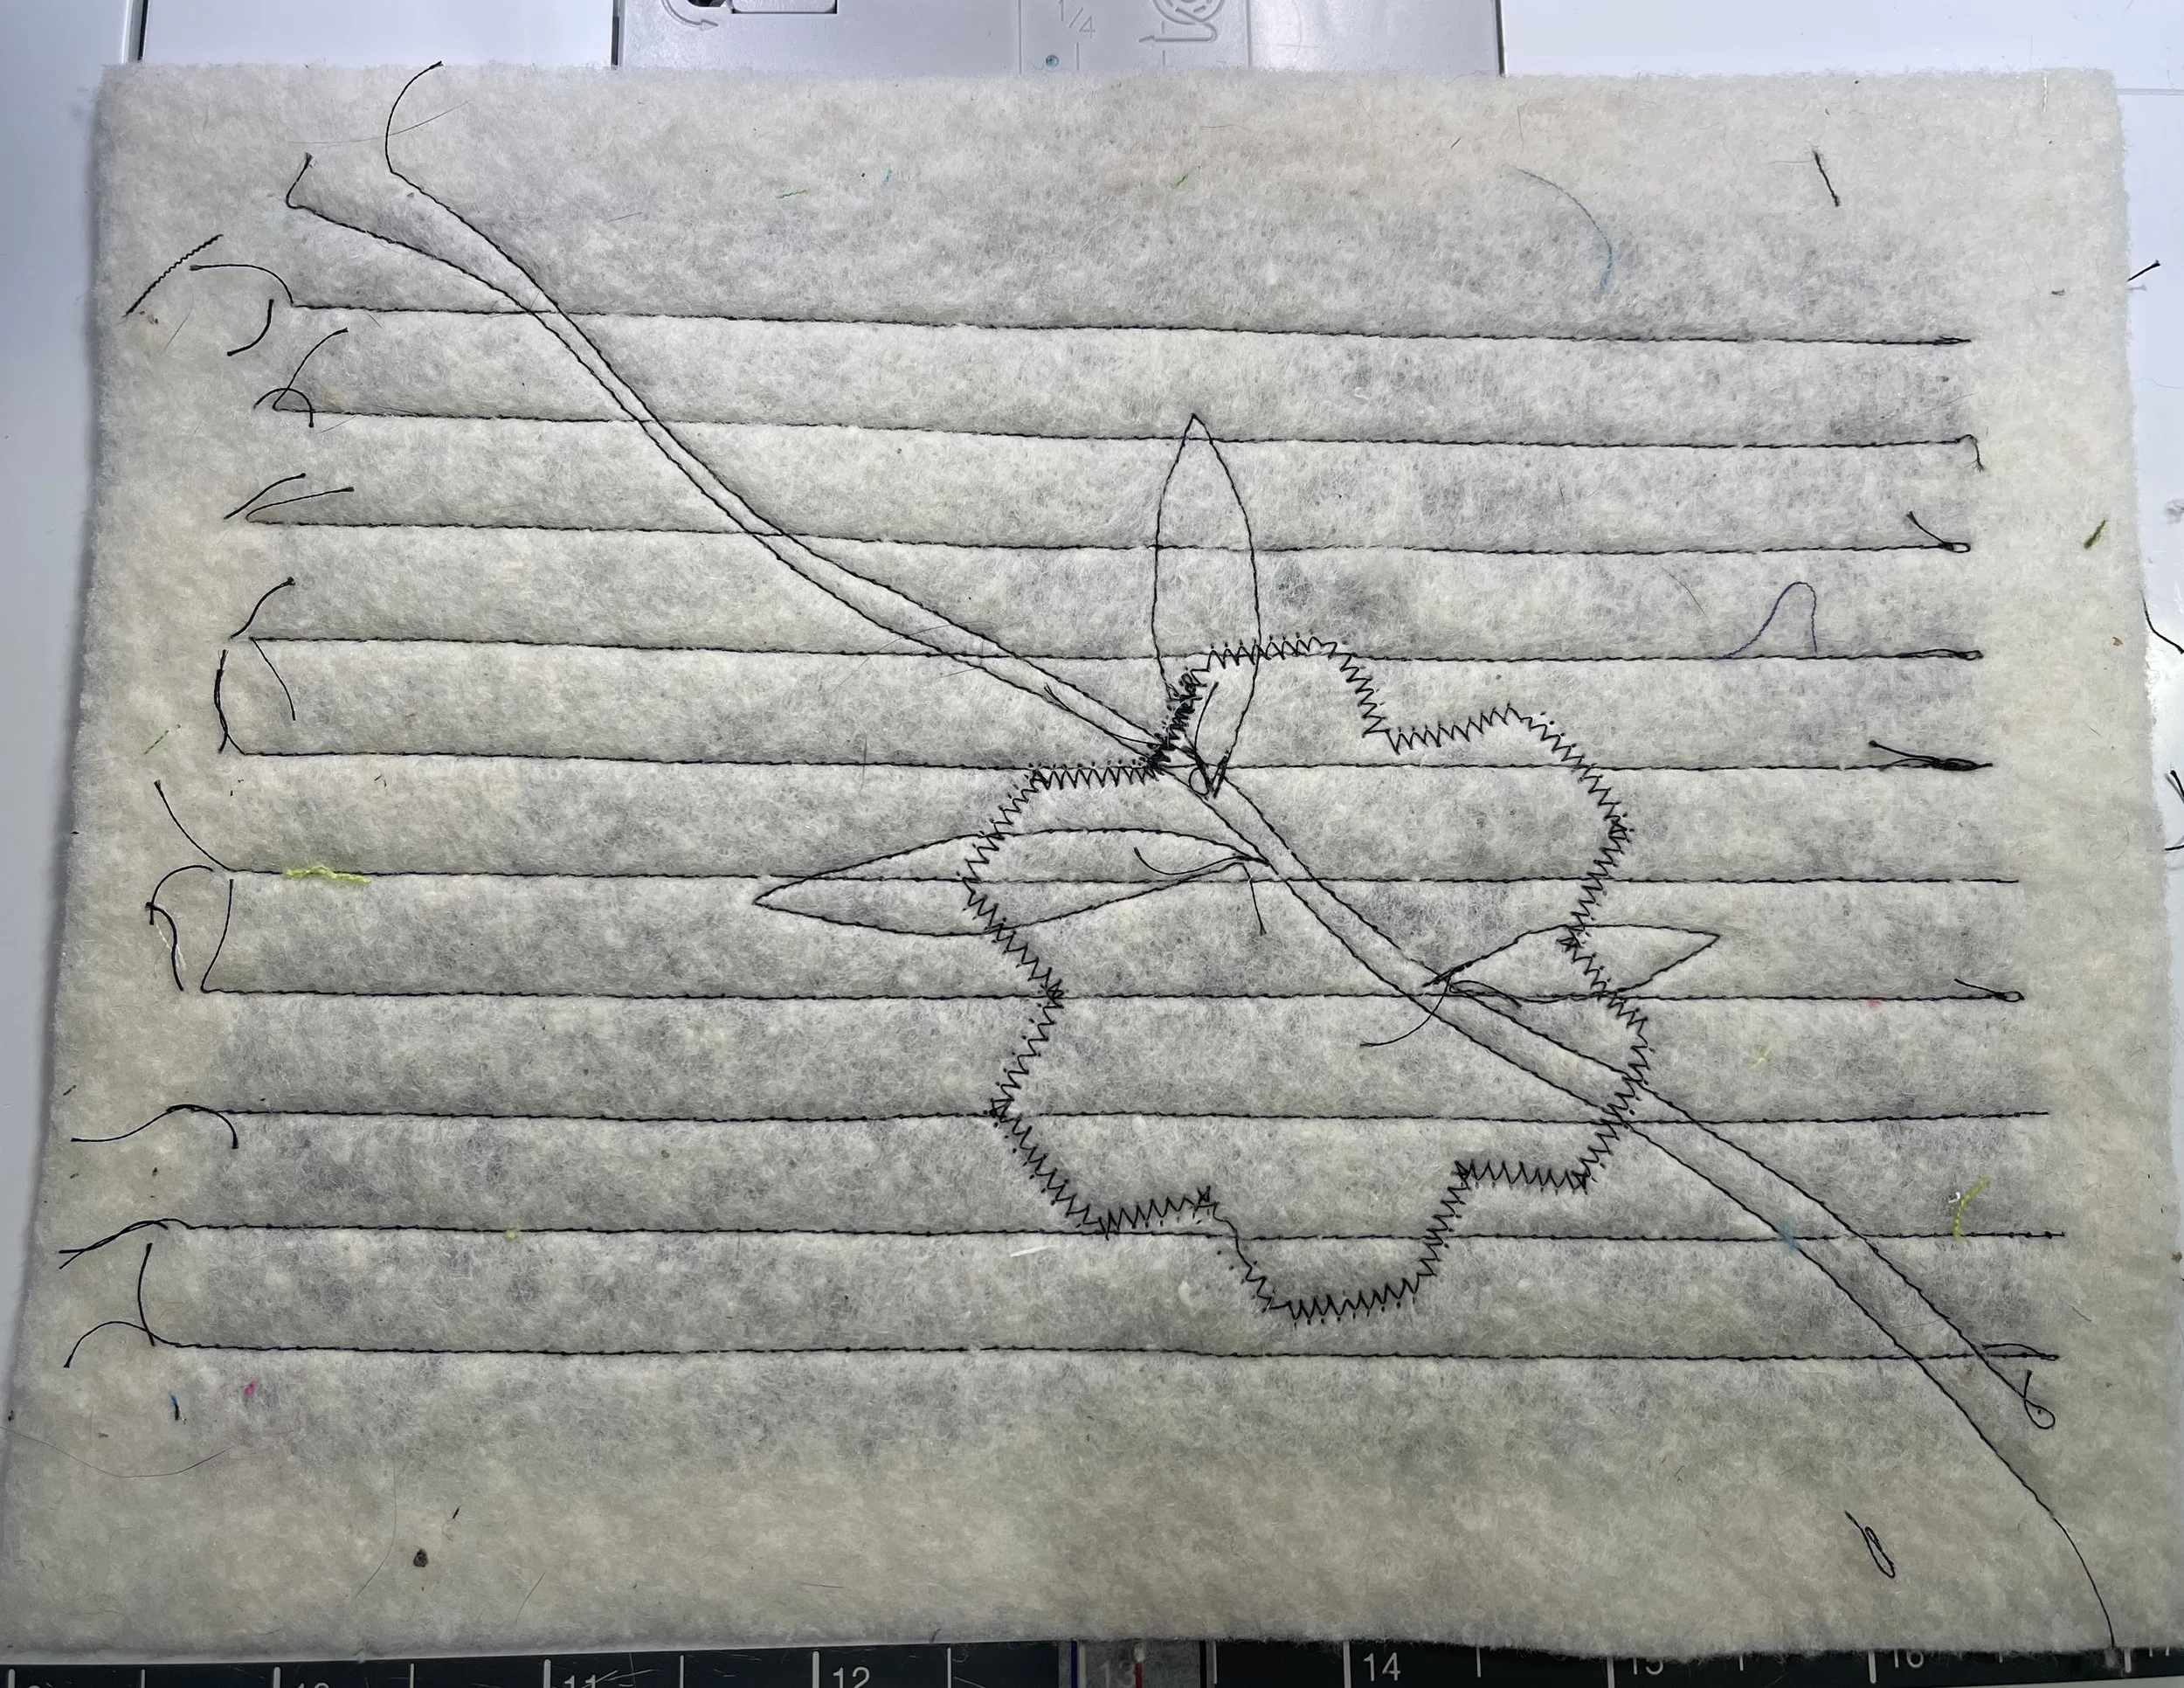
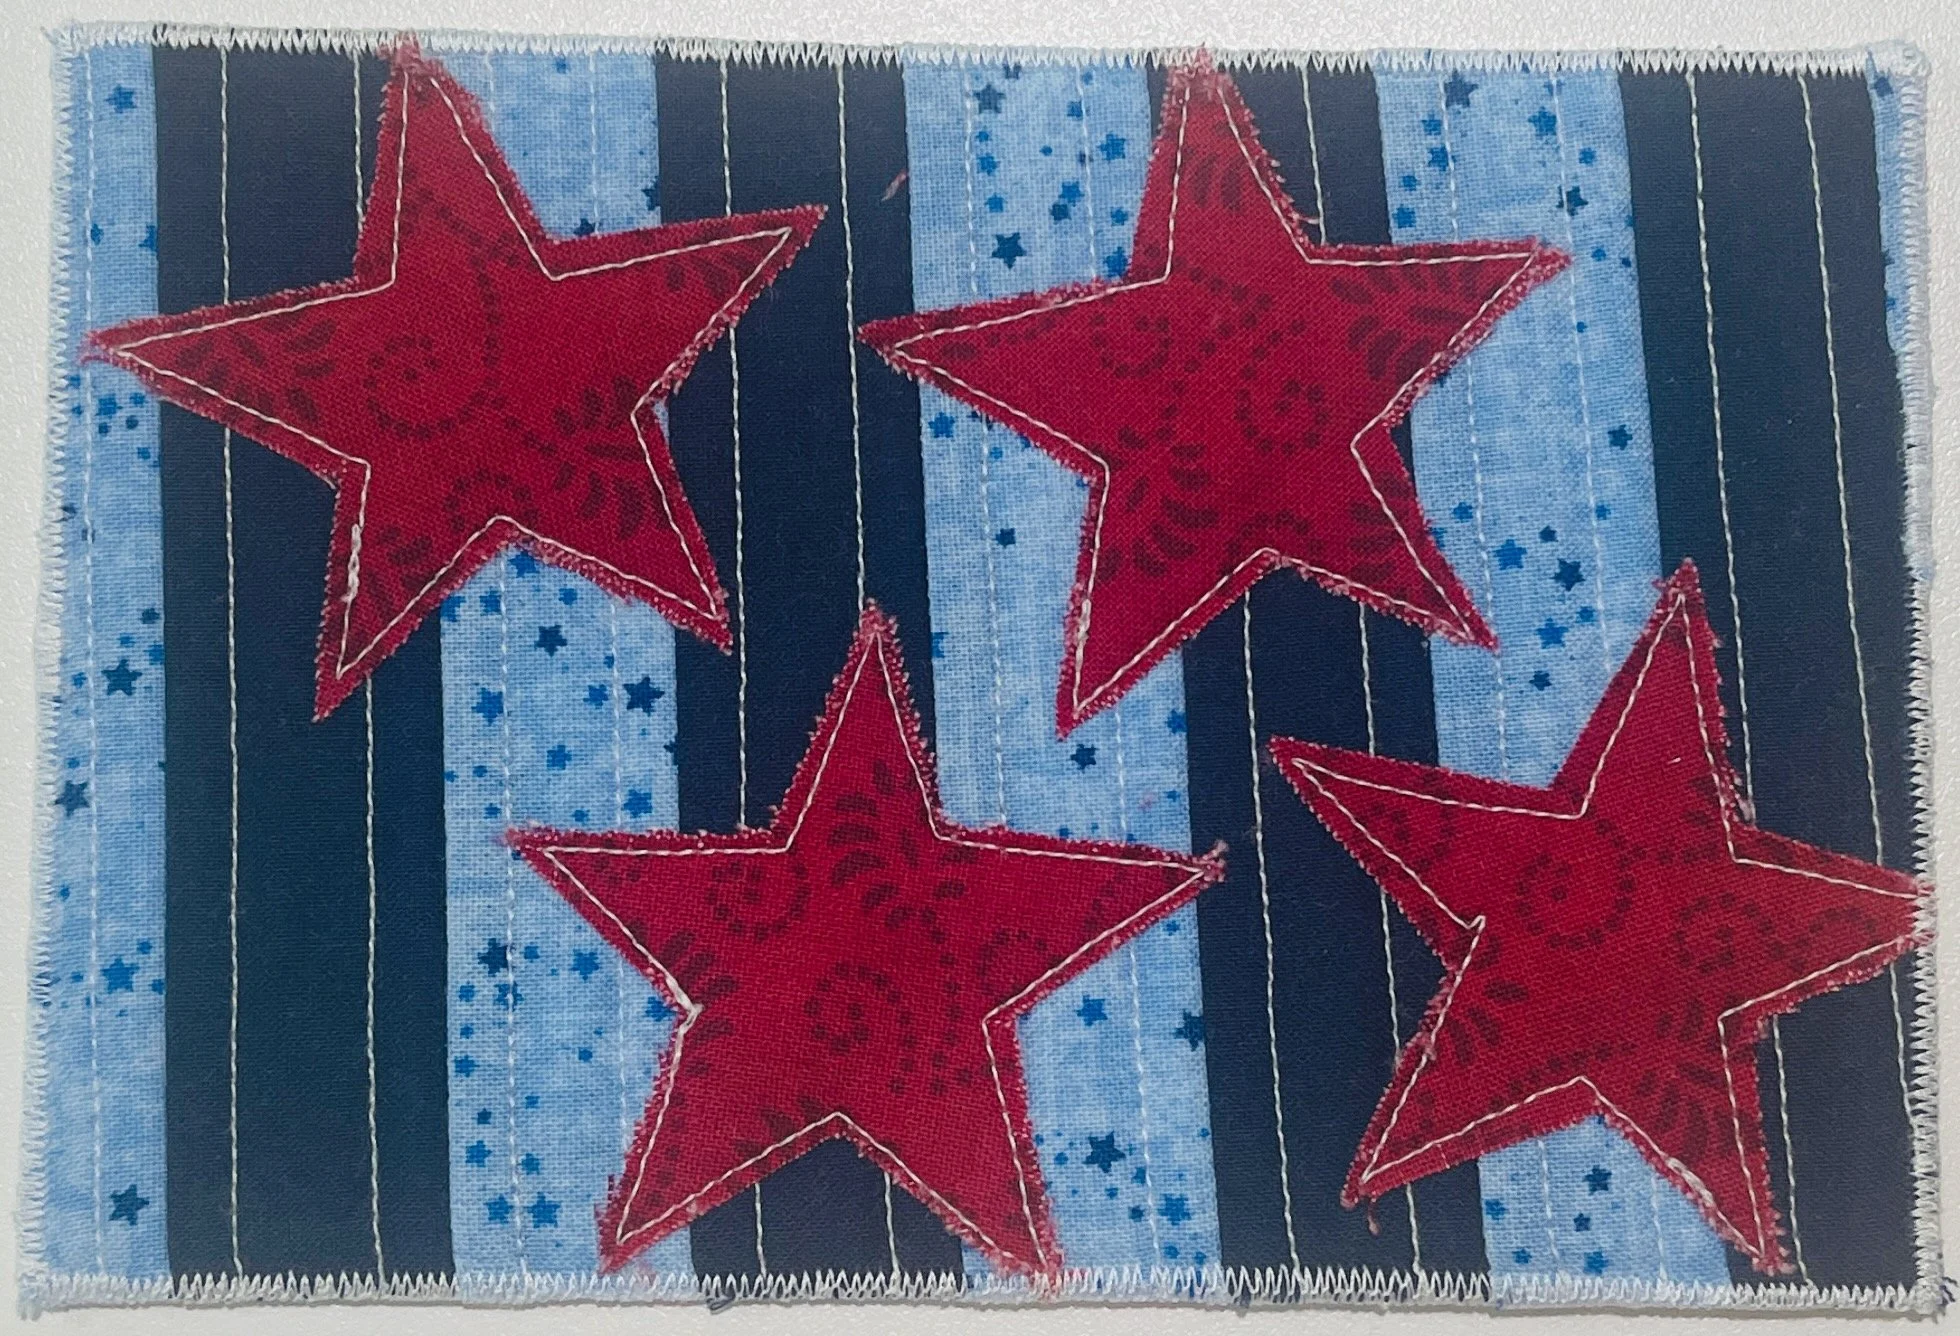
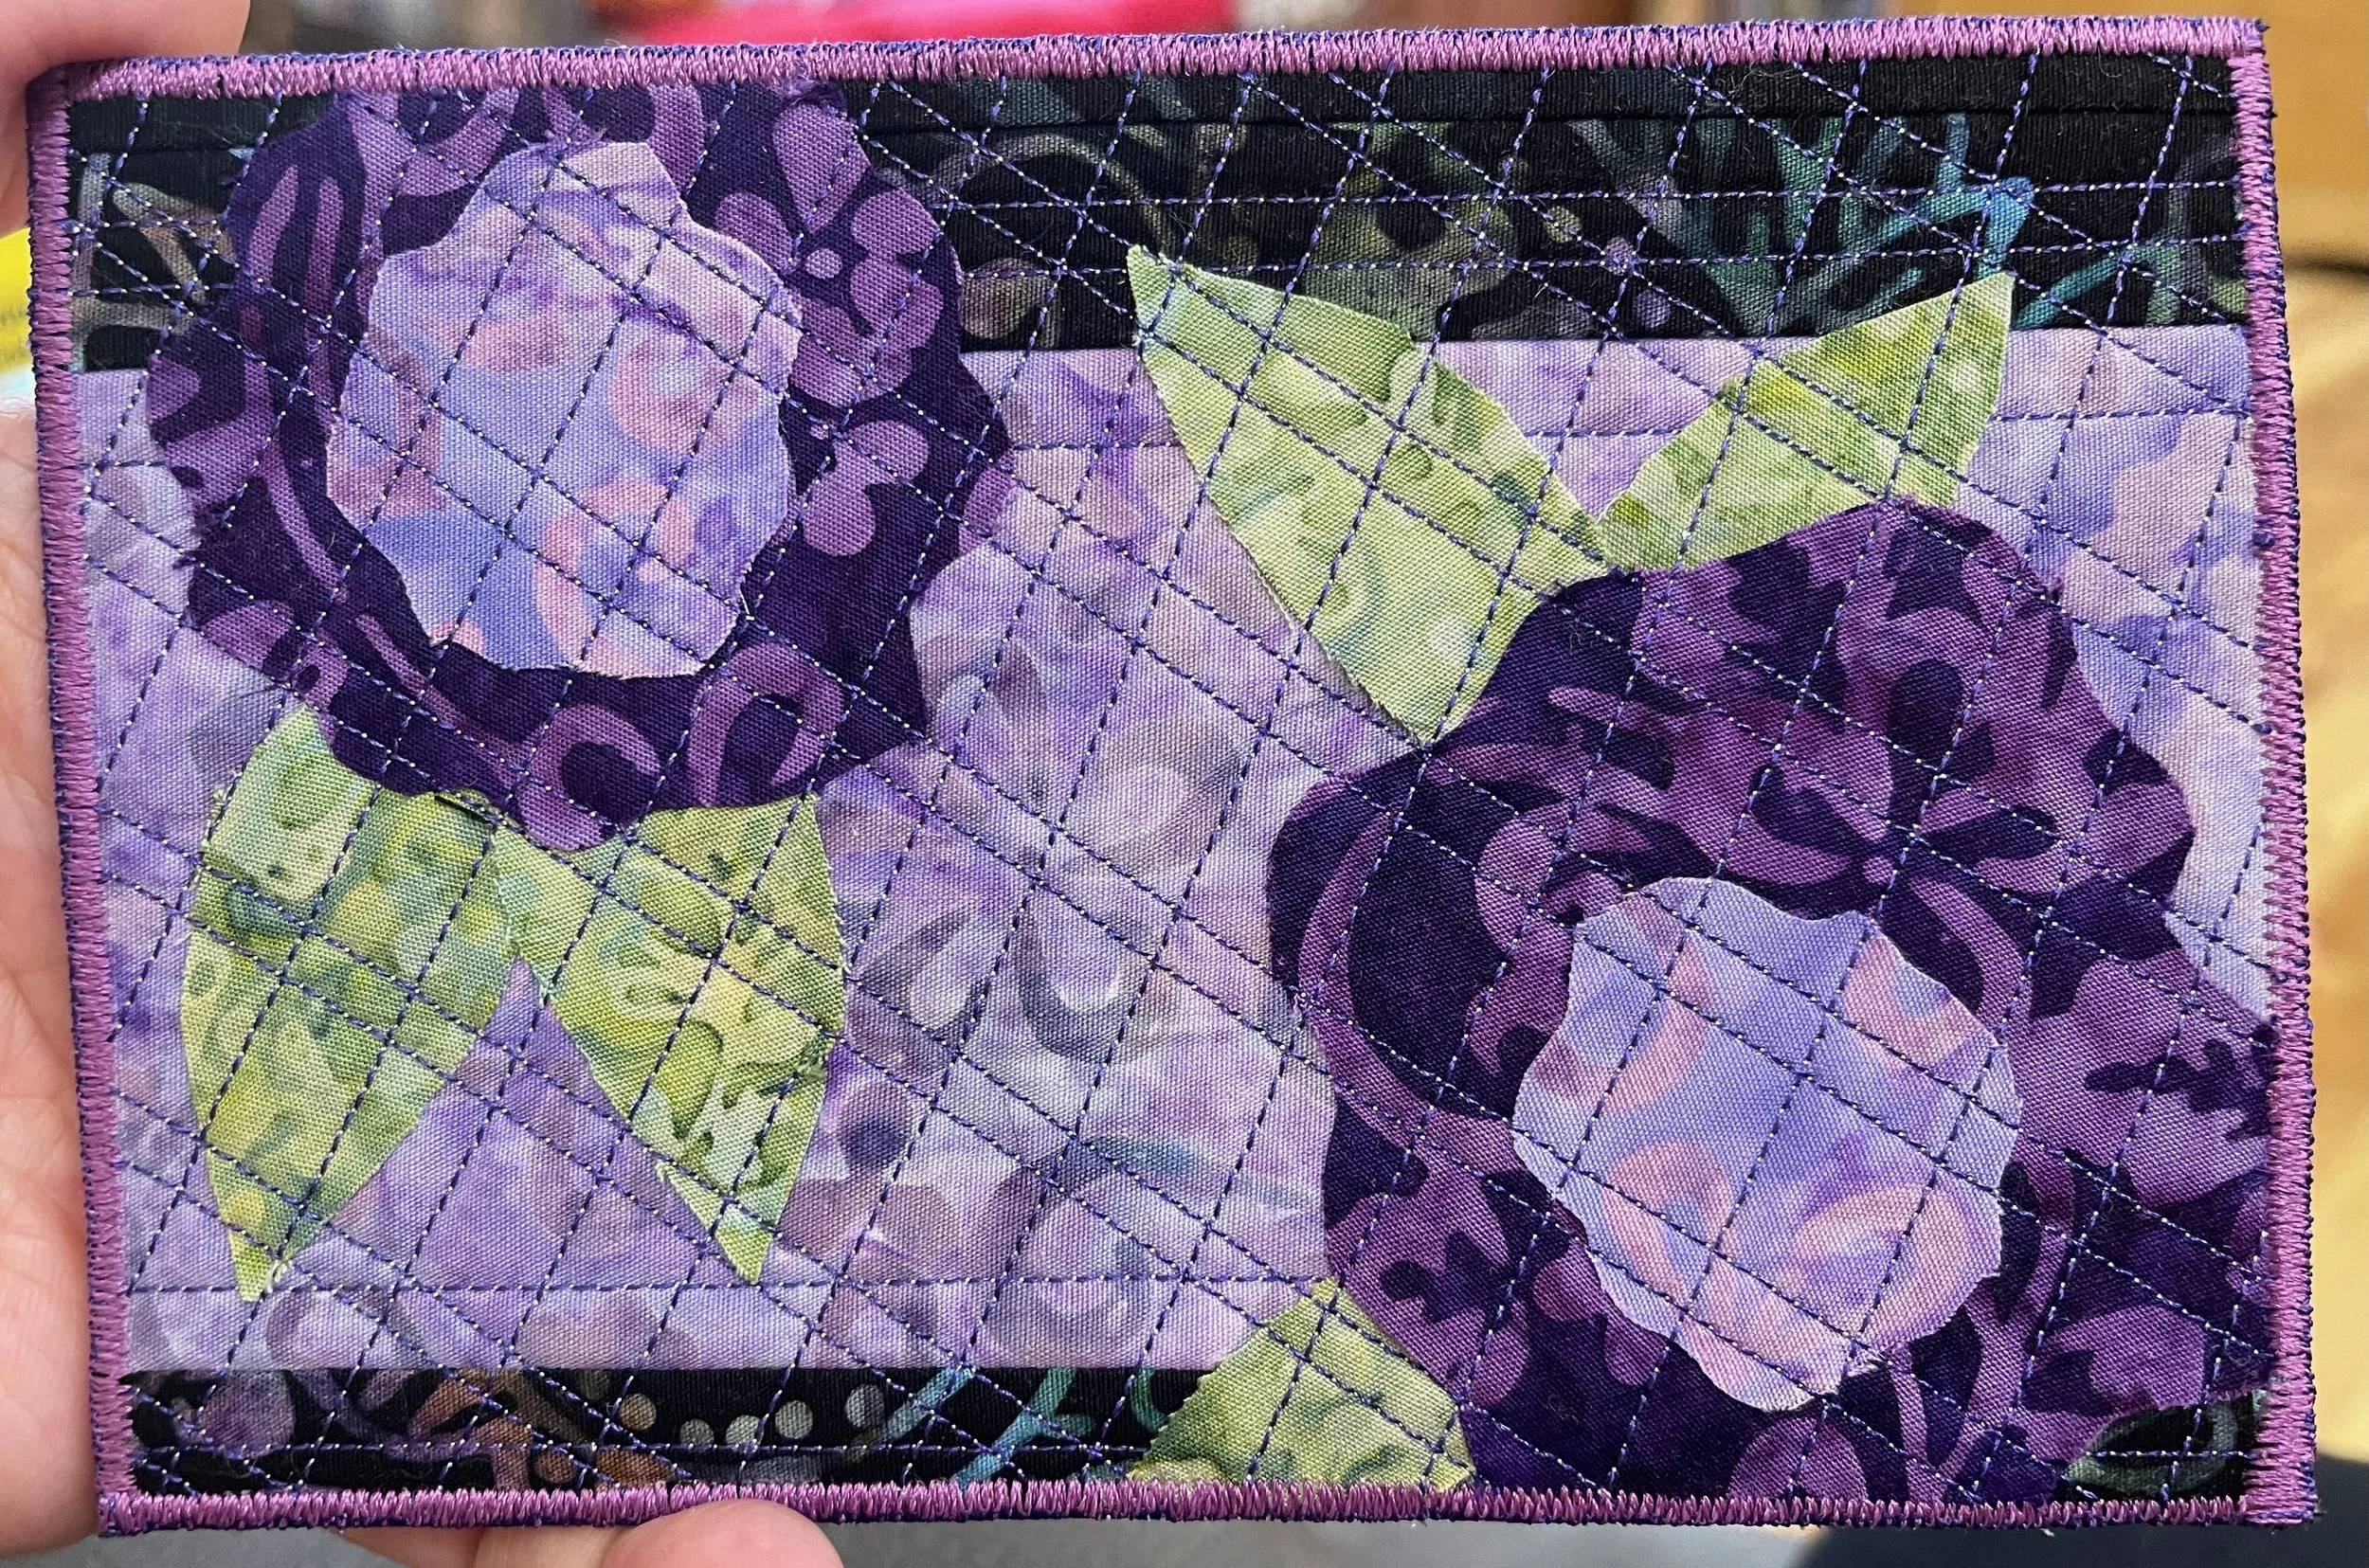
Quilt however you would like. (I did a few lines of straight-line quilting for this piece and I matched the thread to the fabric. In my other examples at the end I did other types of quilting.)
********************
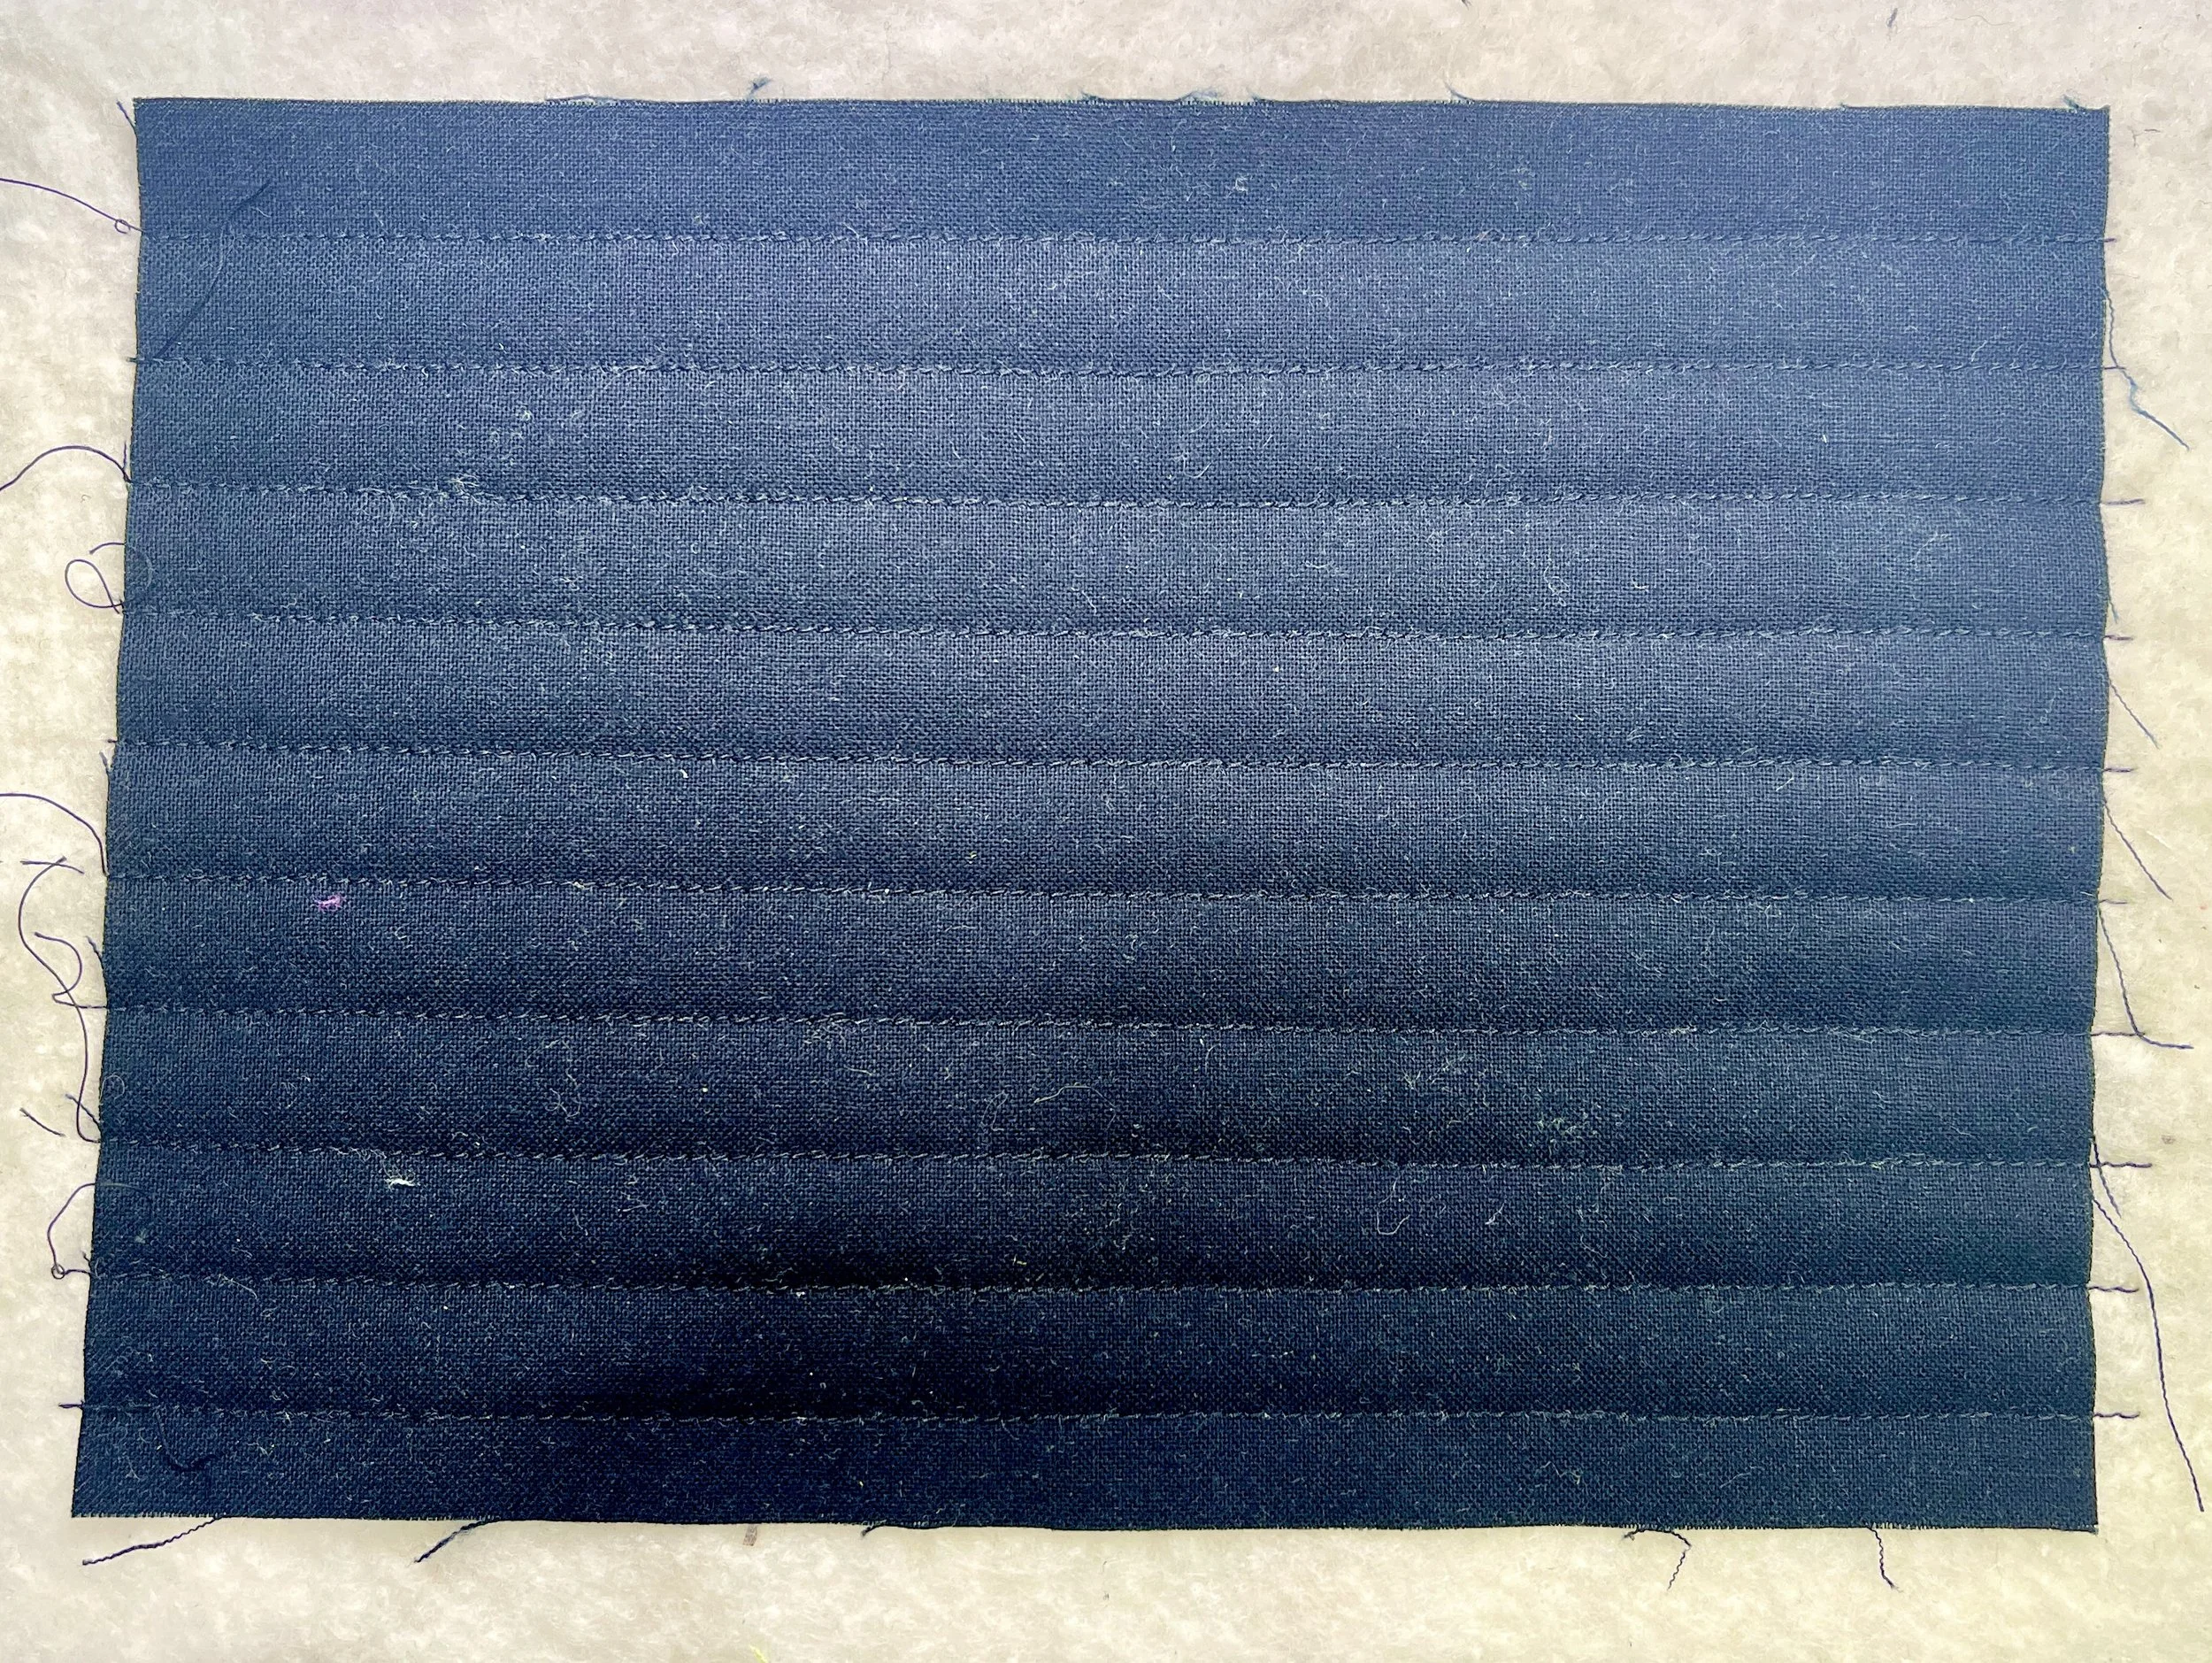
This is a solid piece of fabric for the background on this project. I have other postcards at the end that show pieced backgrounds.
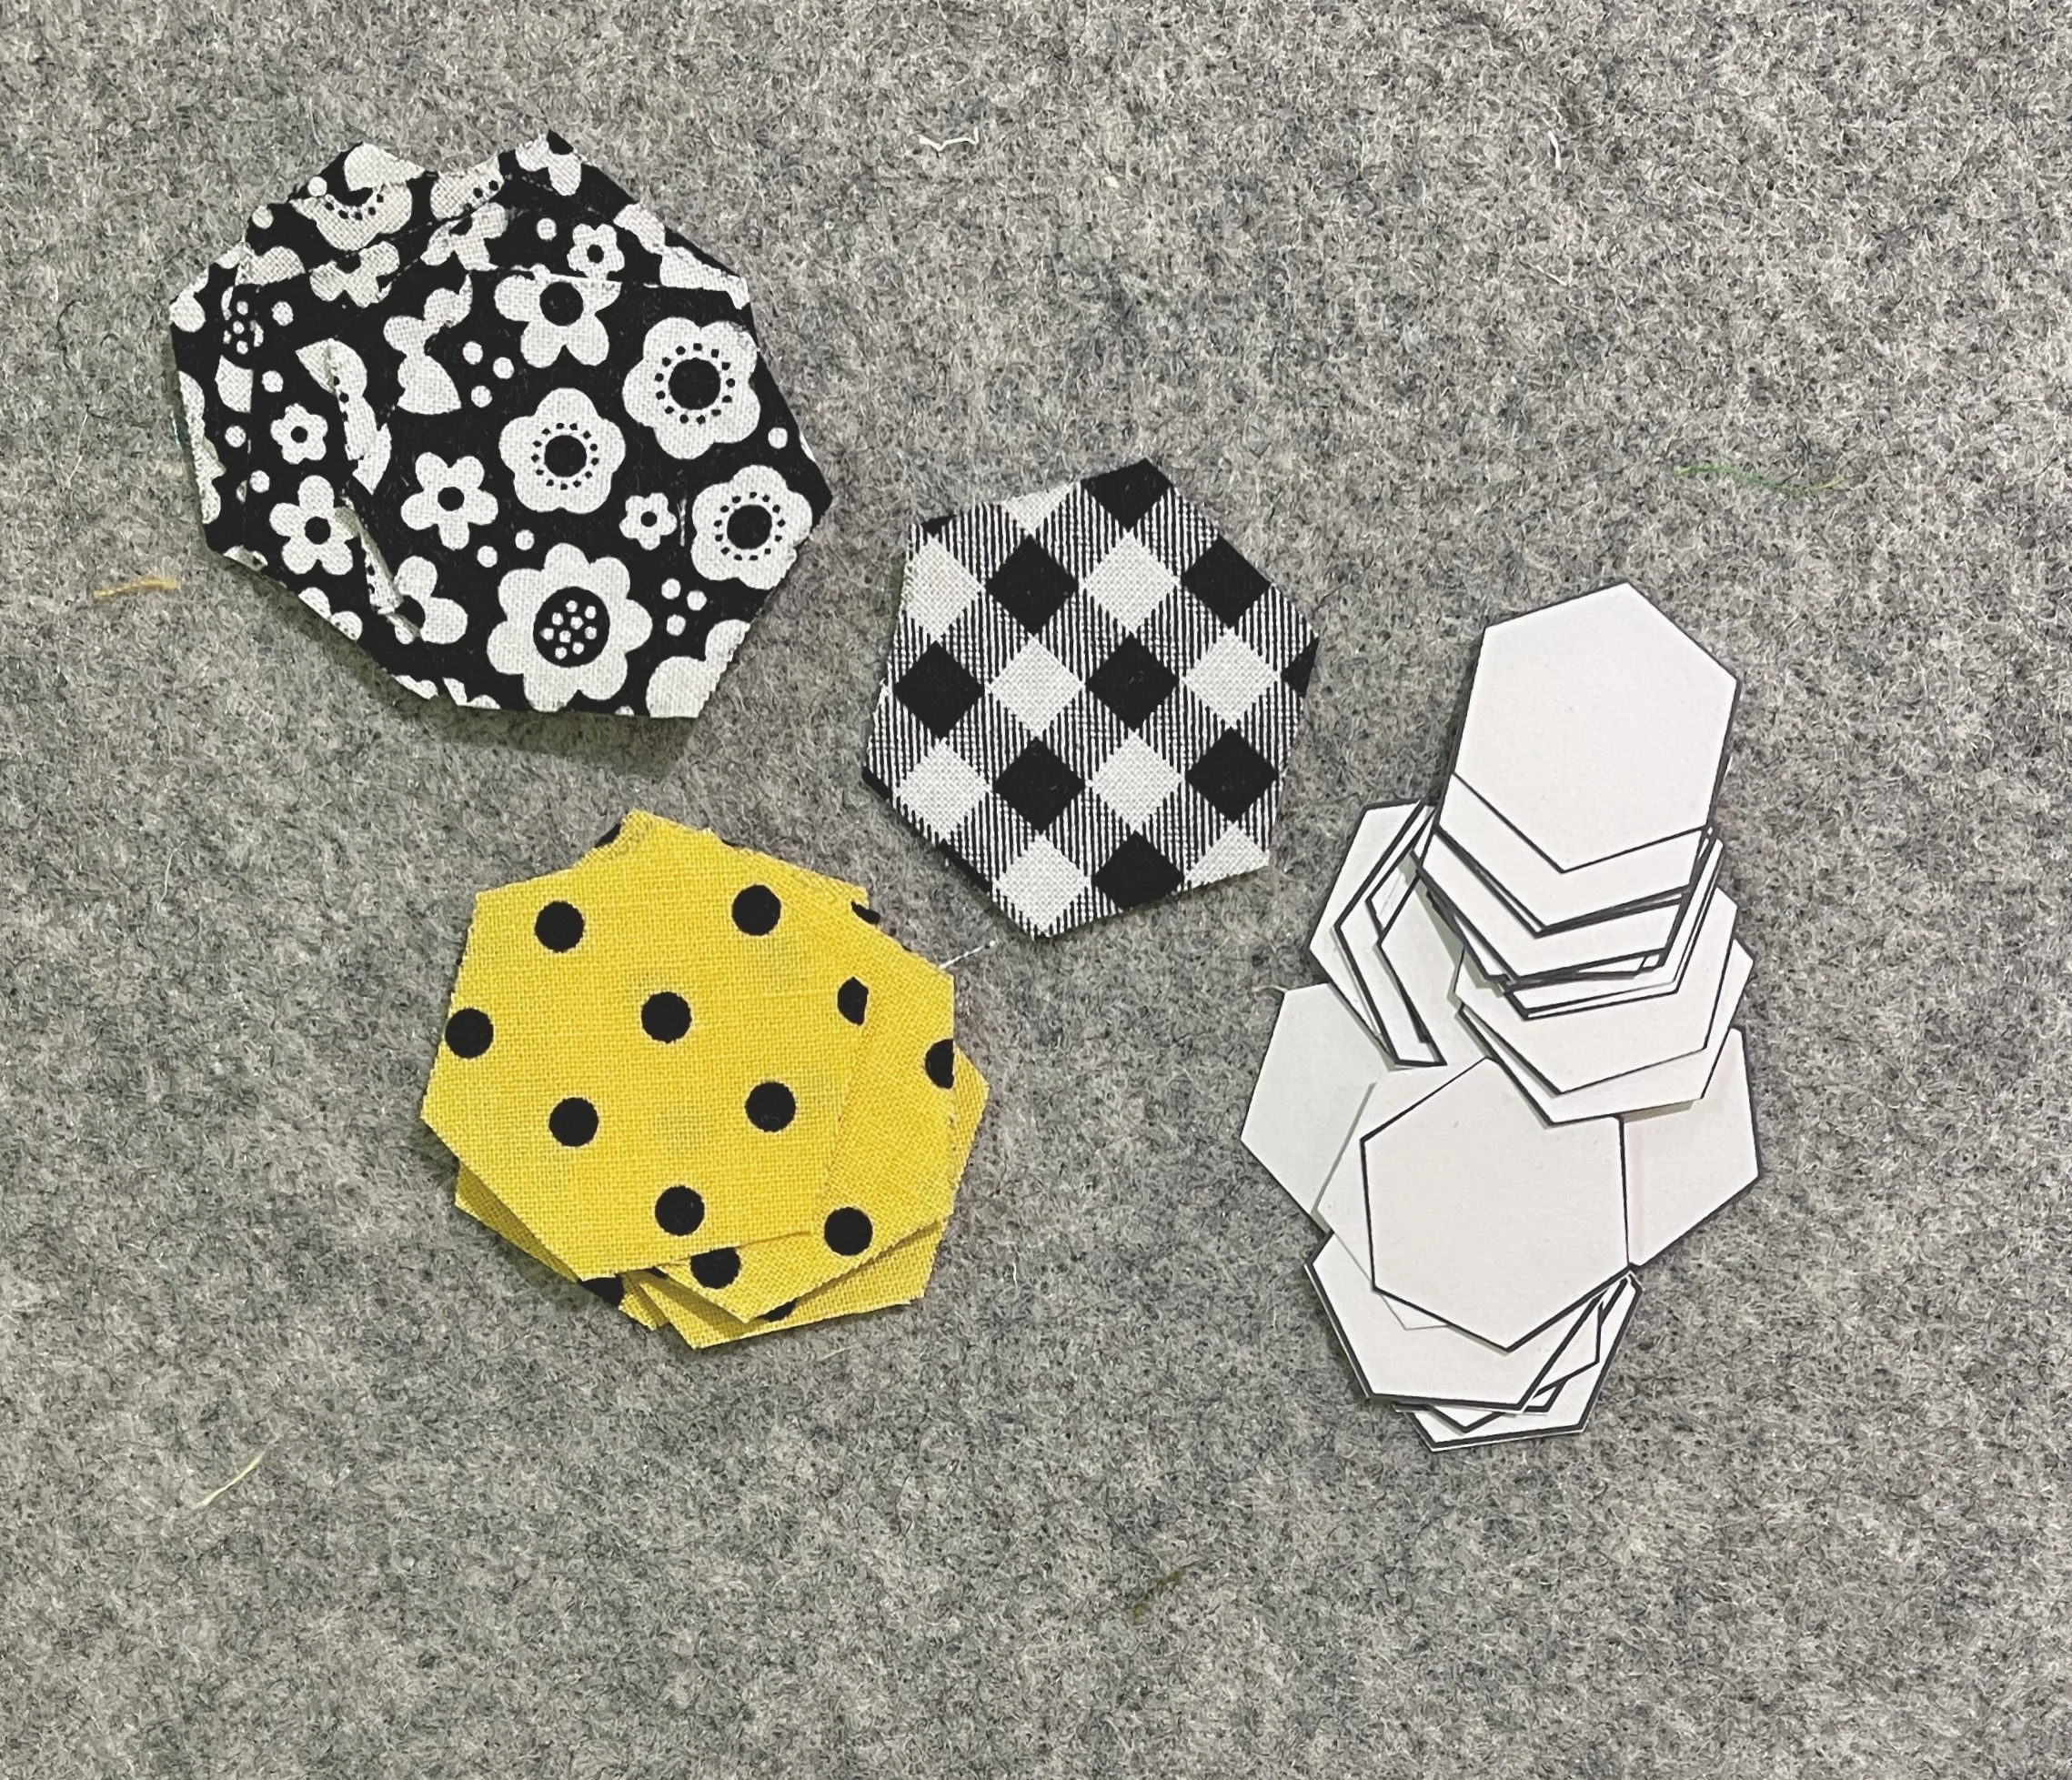
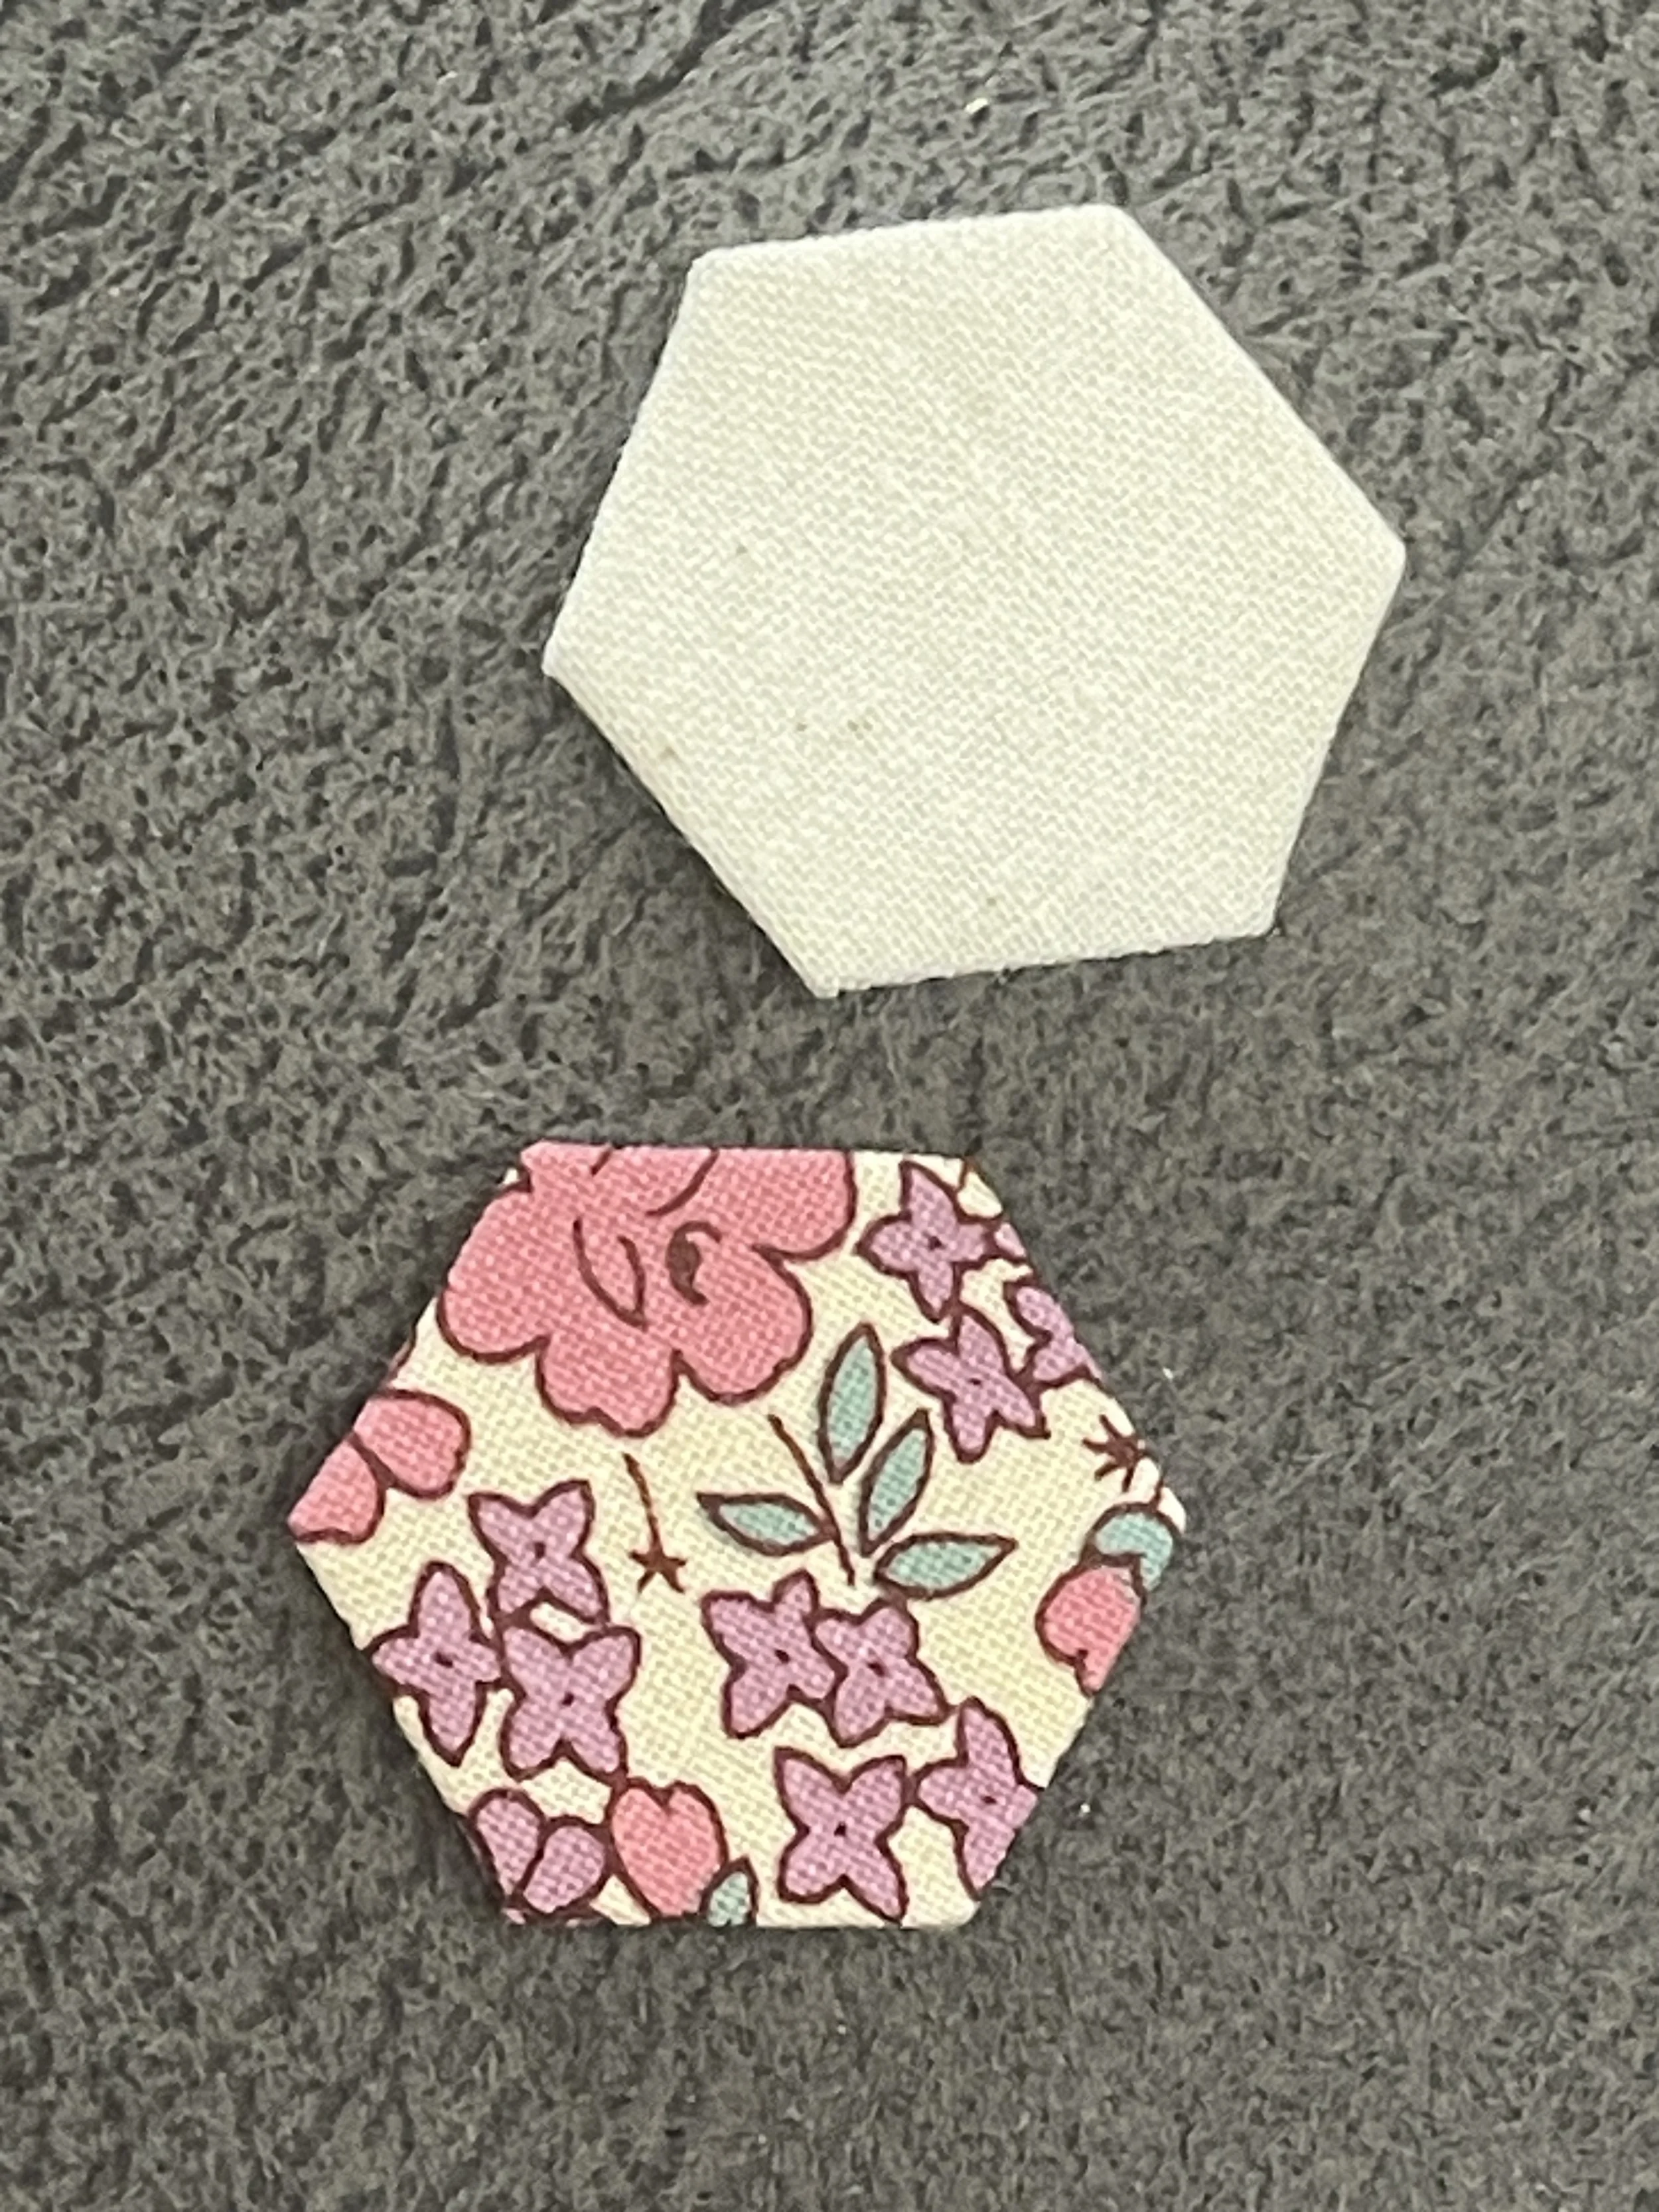
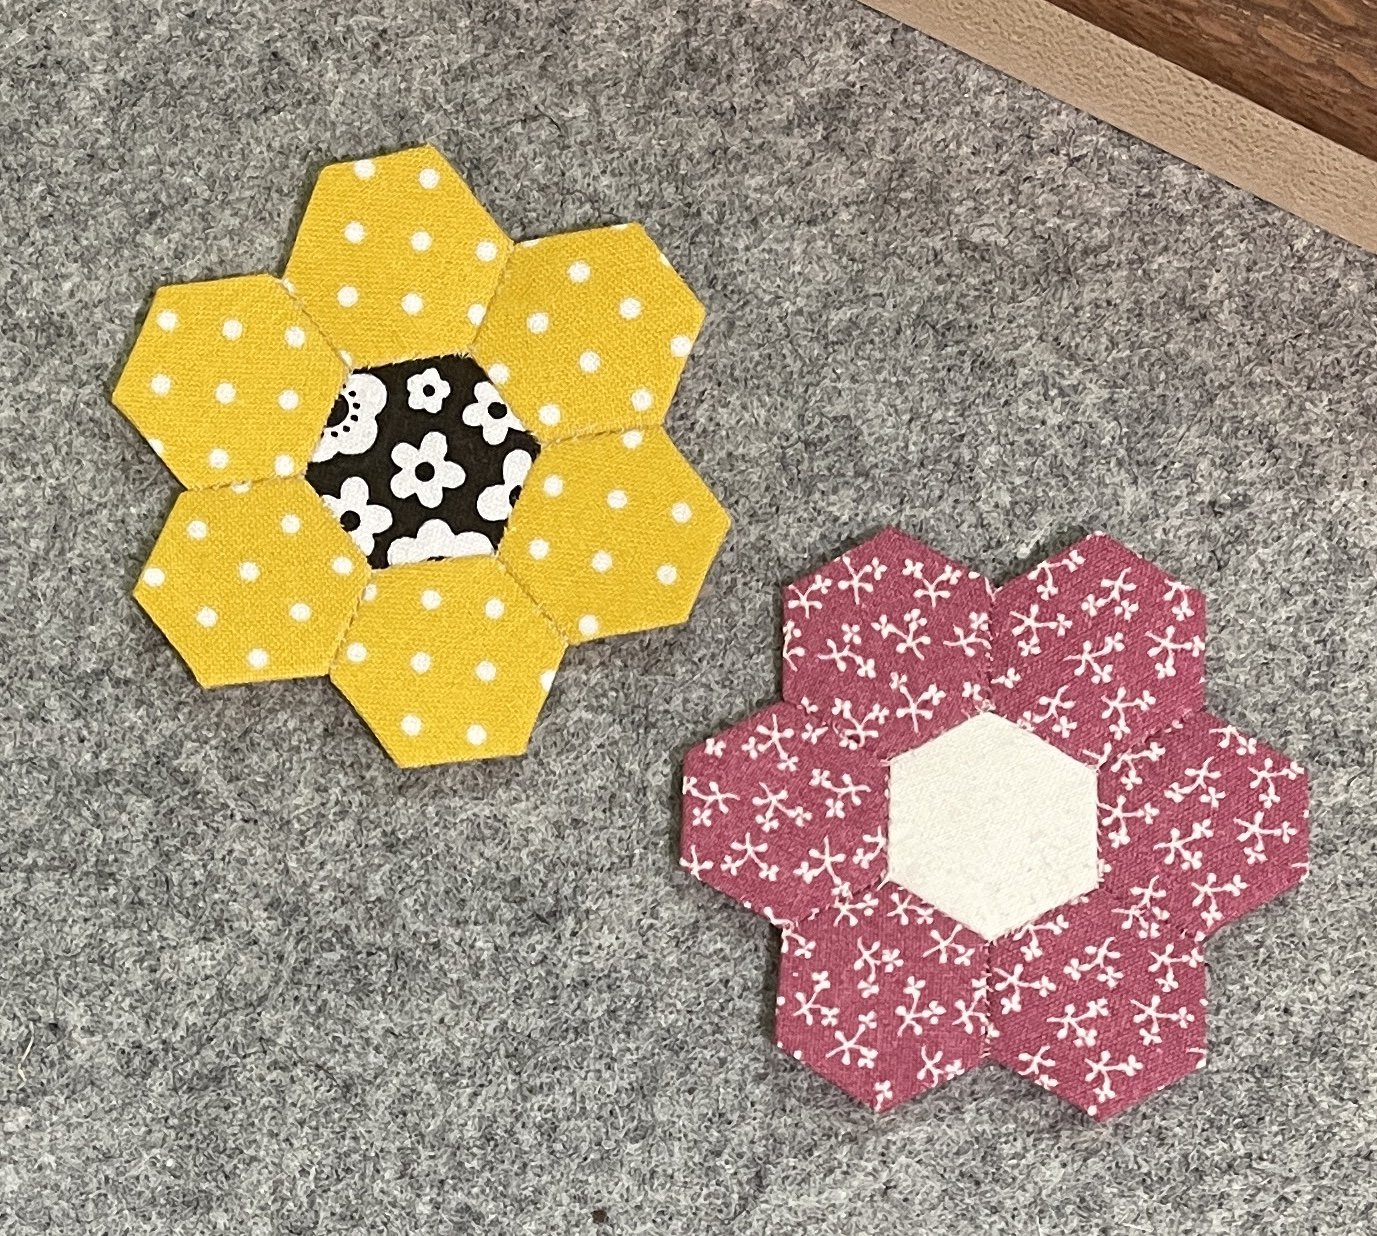
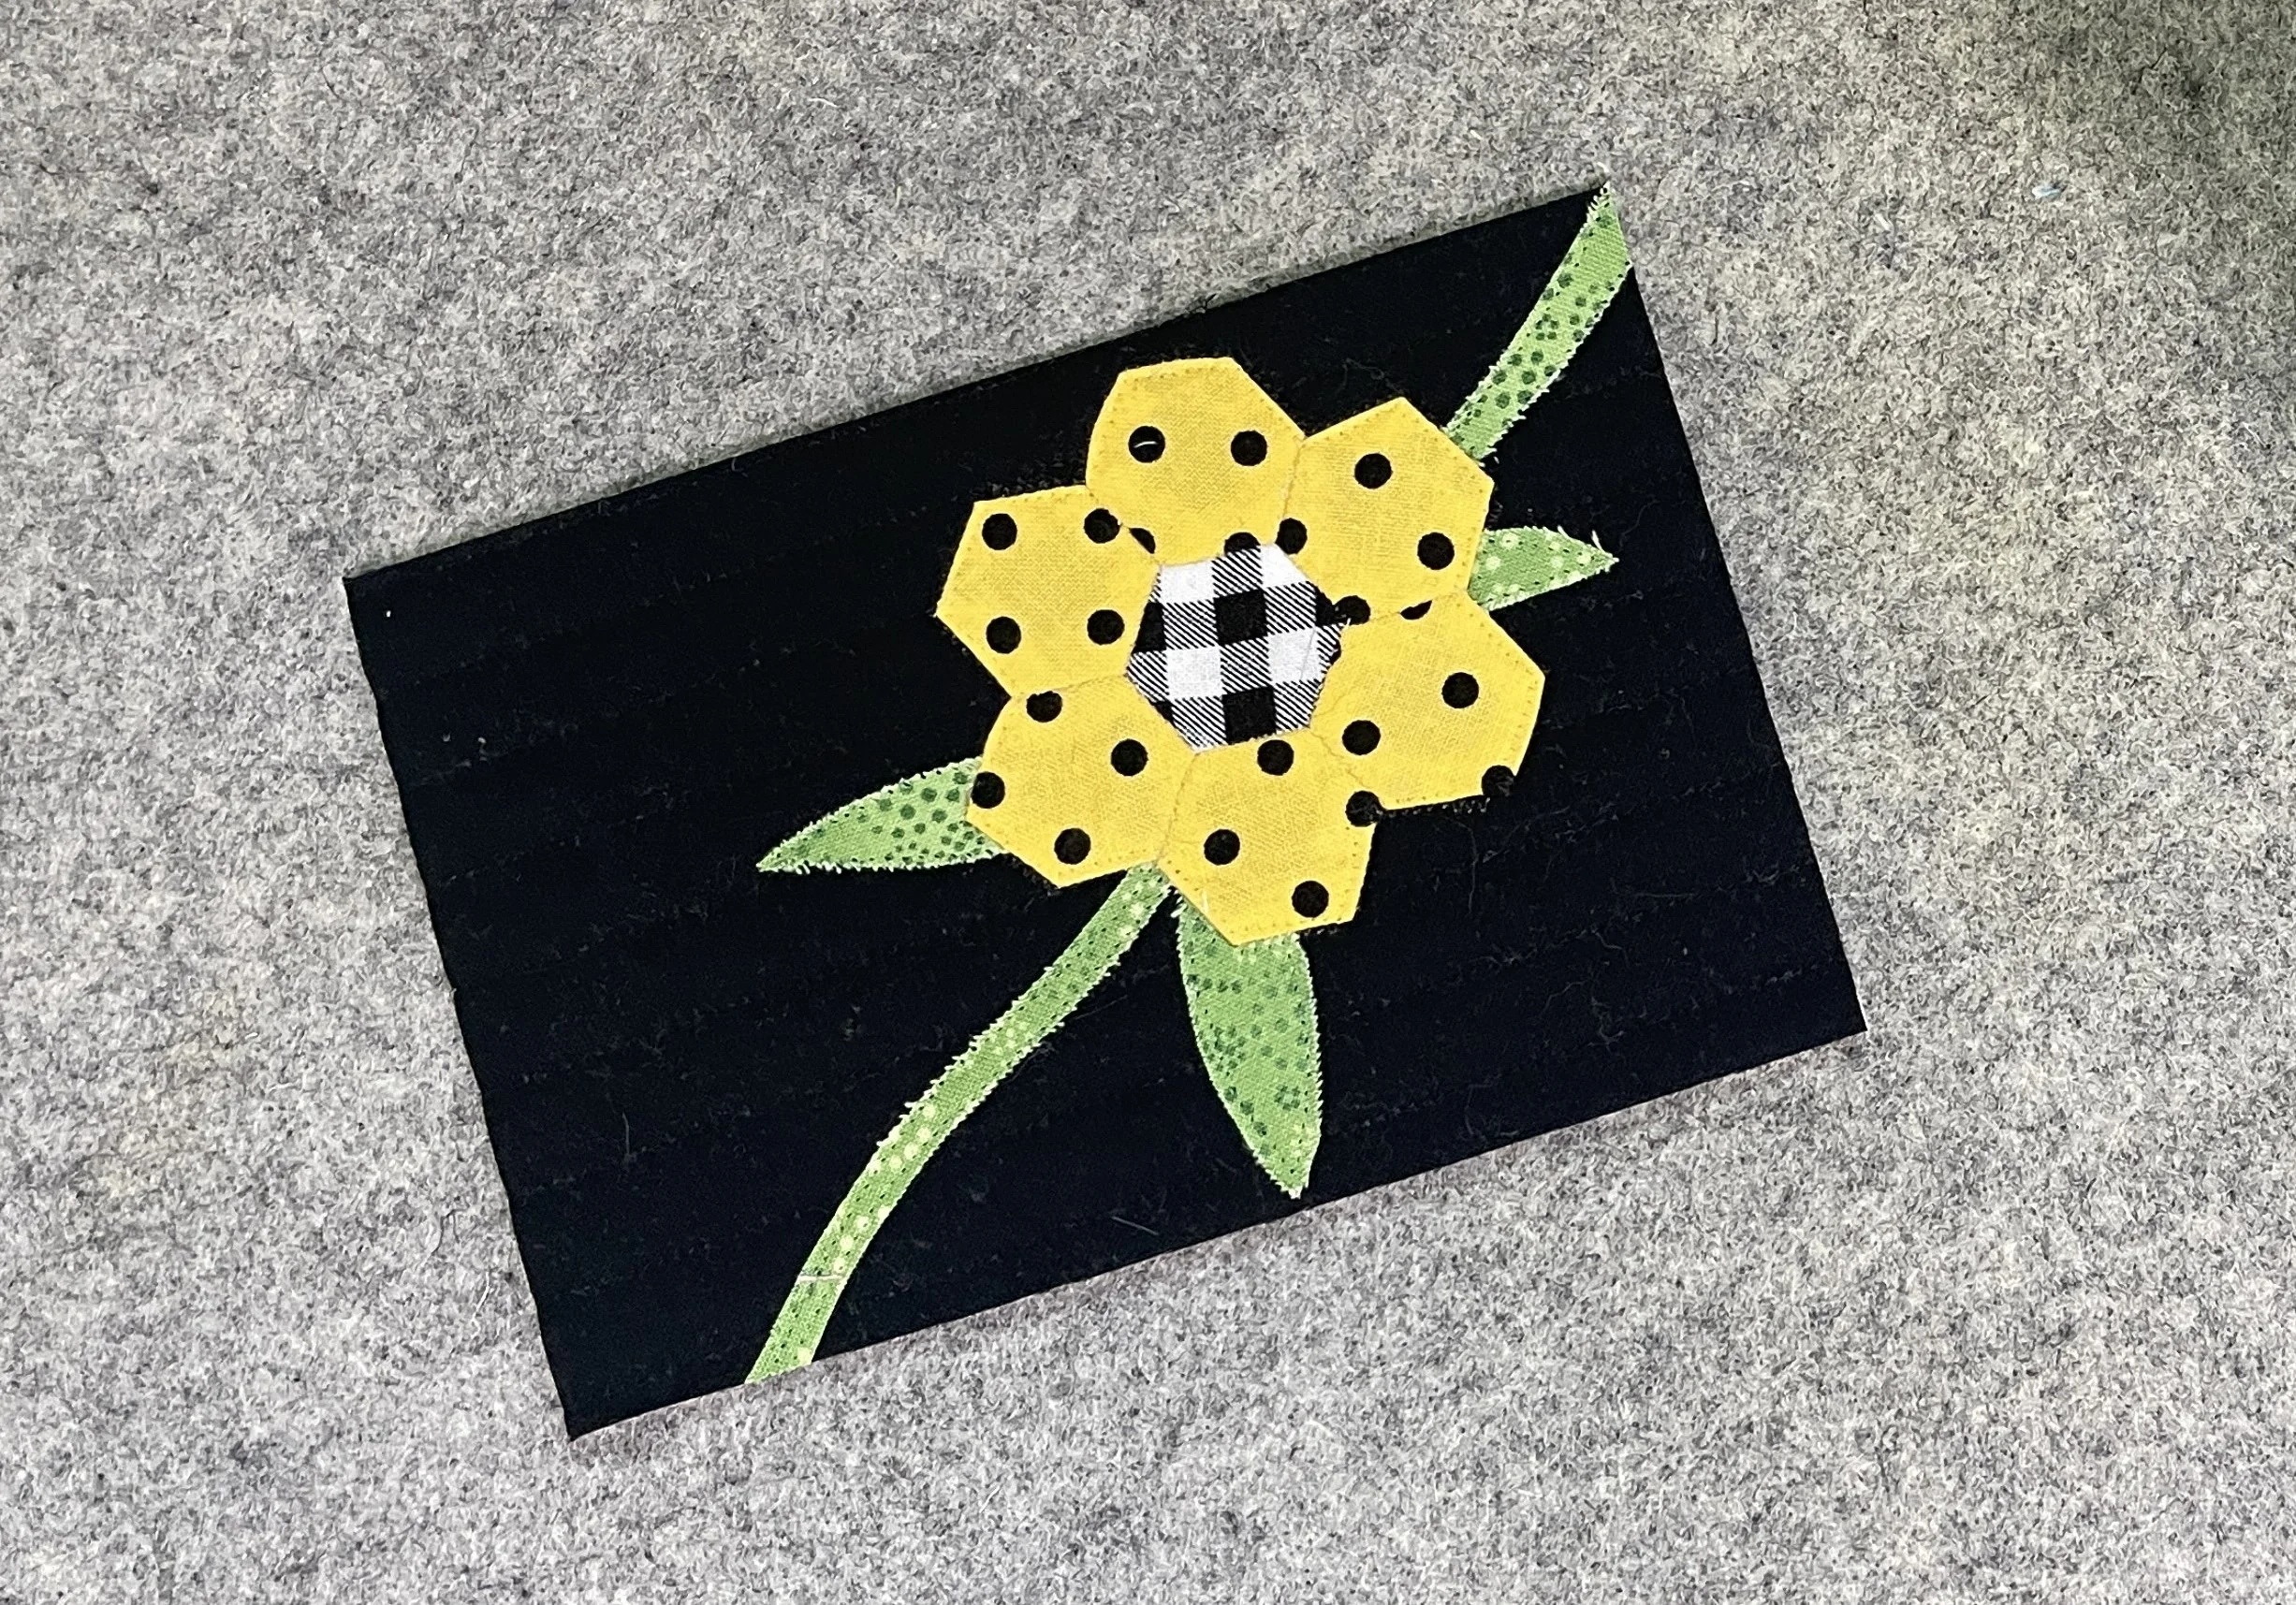
To create the flowers I used the 1/2” hexagon template. I traced around the template and then cut out the fabric pieces.
The template has 1/4” around the edge to give you fabric to fold over the card stock hexagons.

Once they are cut out either gently glue the edges around the card stock hexagon, or you could use starch and press them around the card stock hexagon.
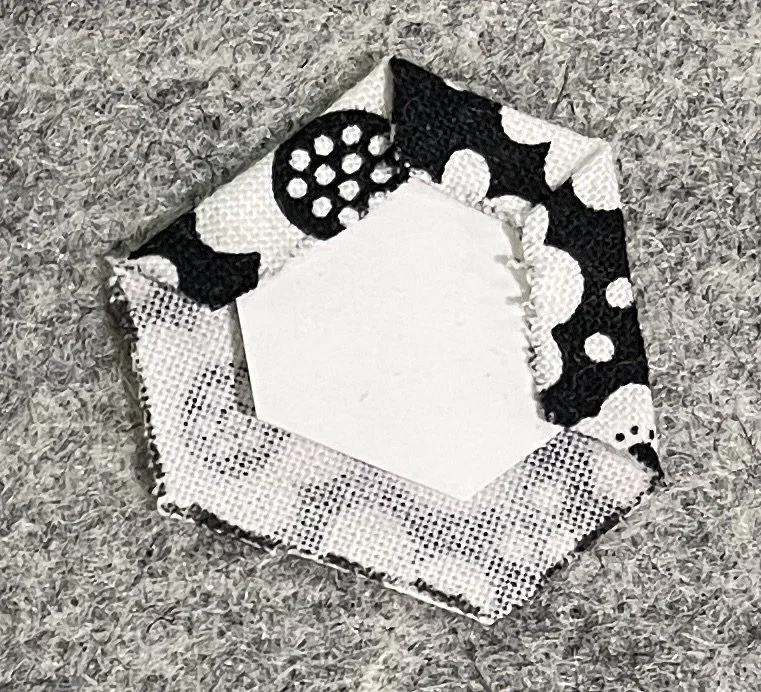
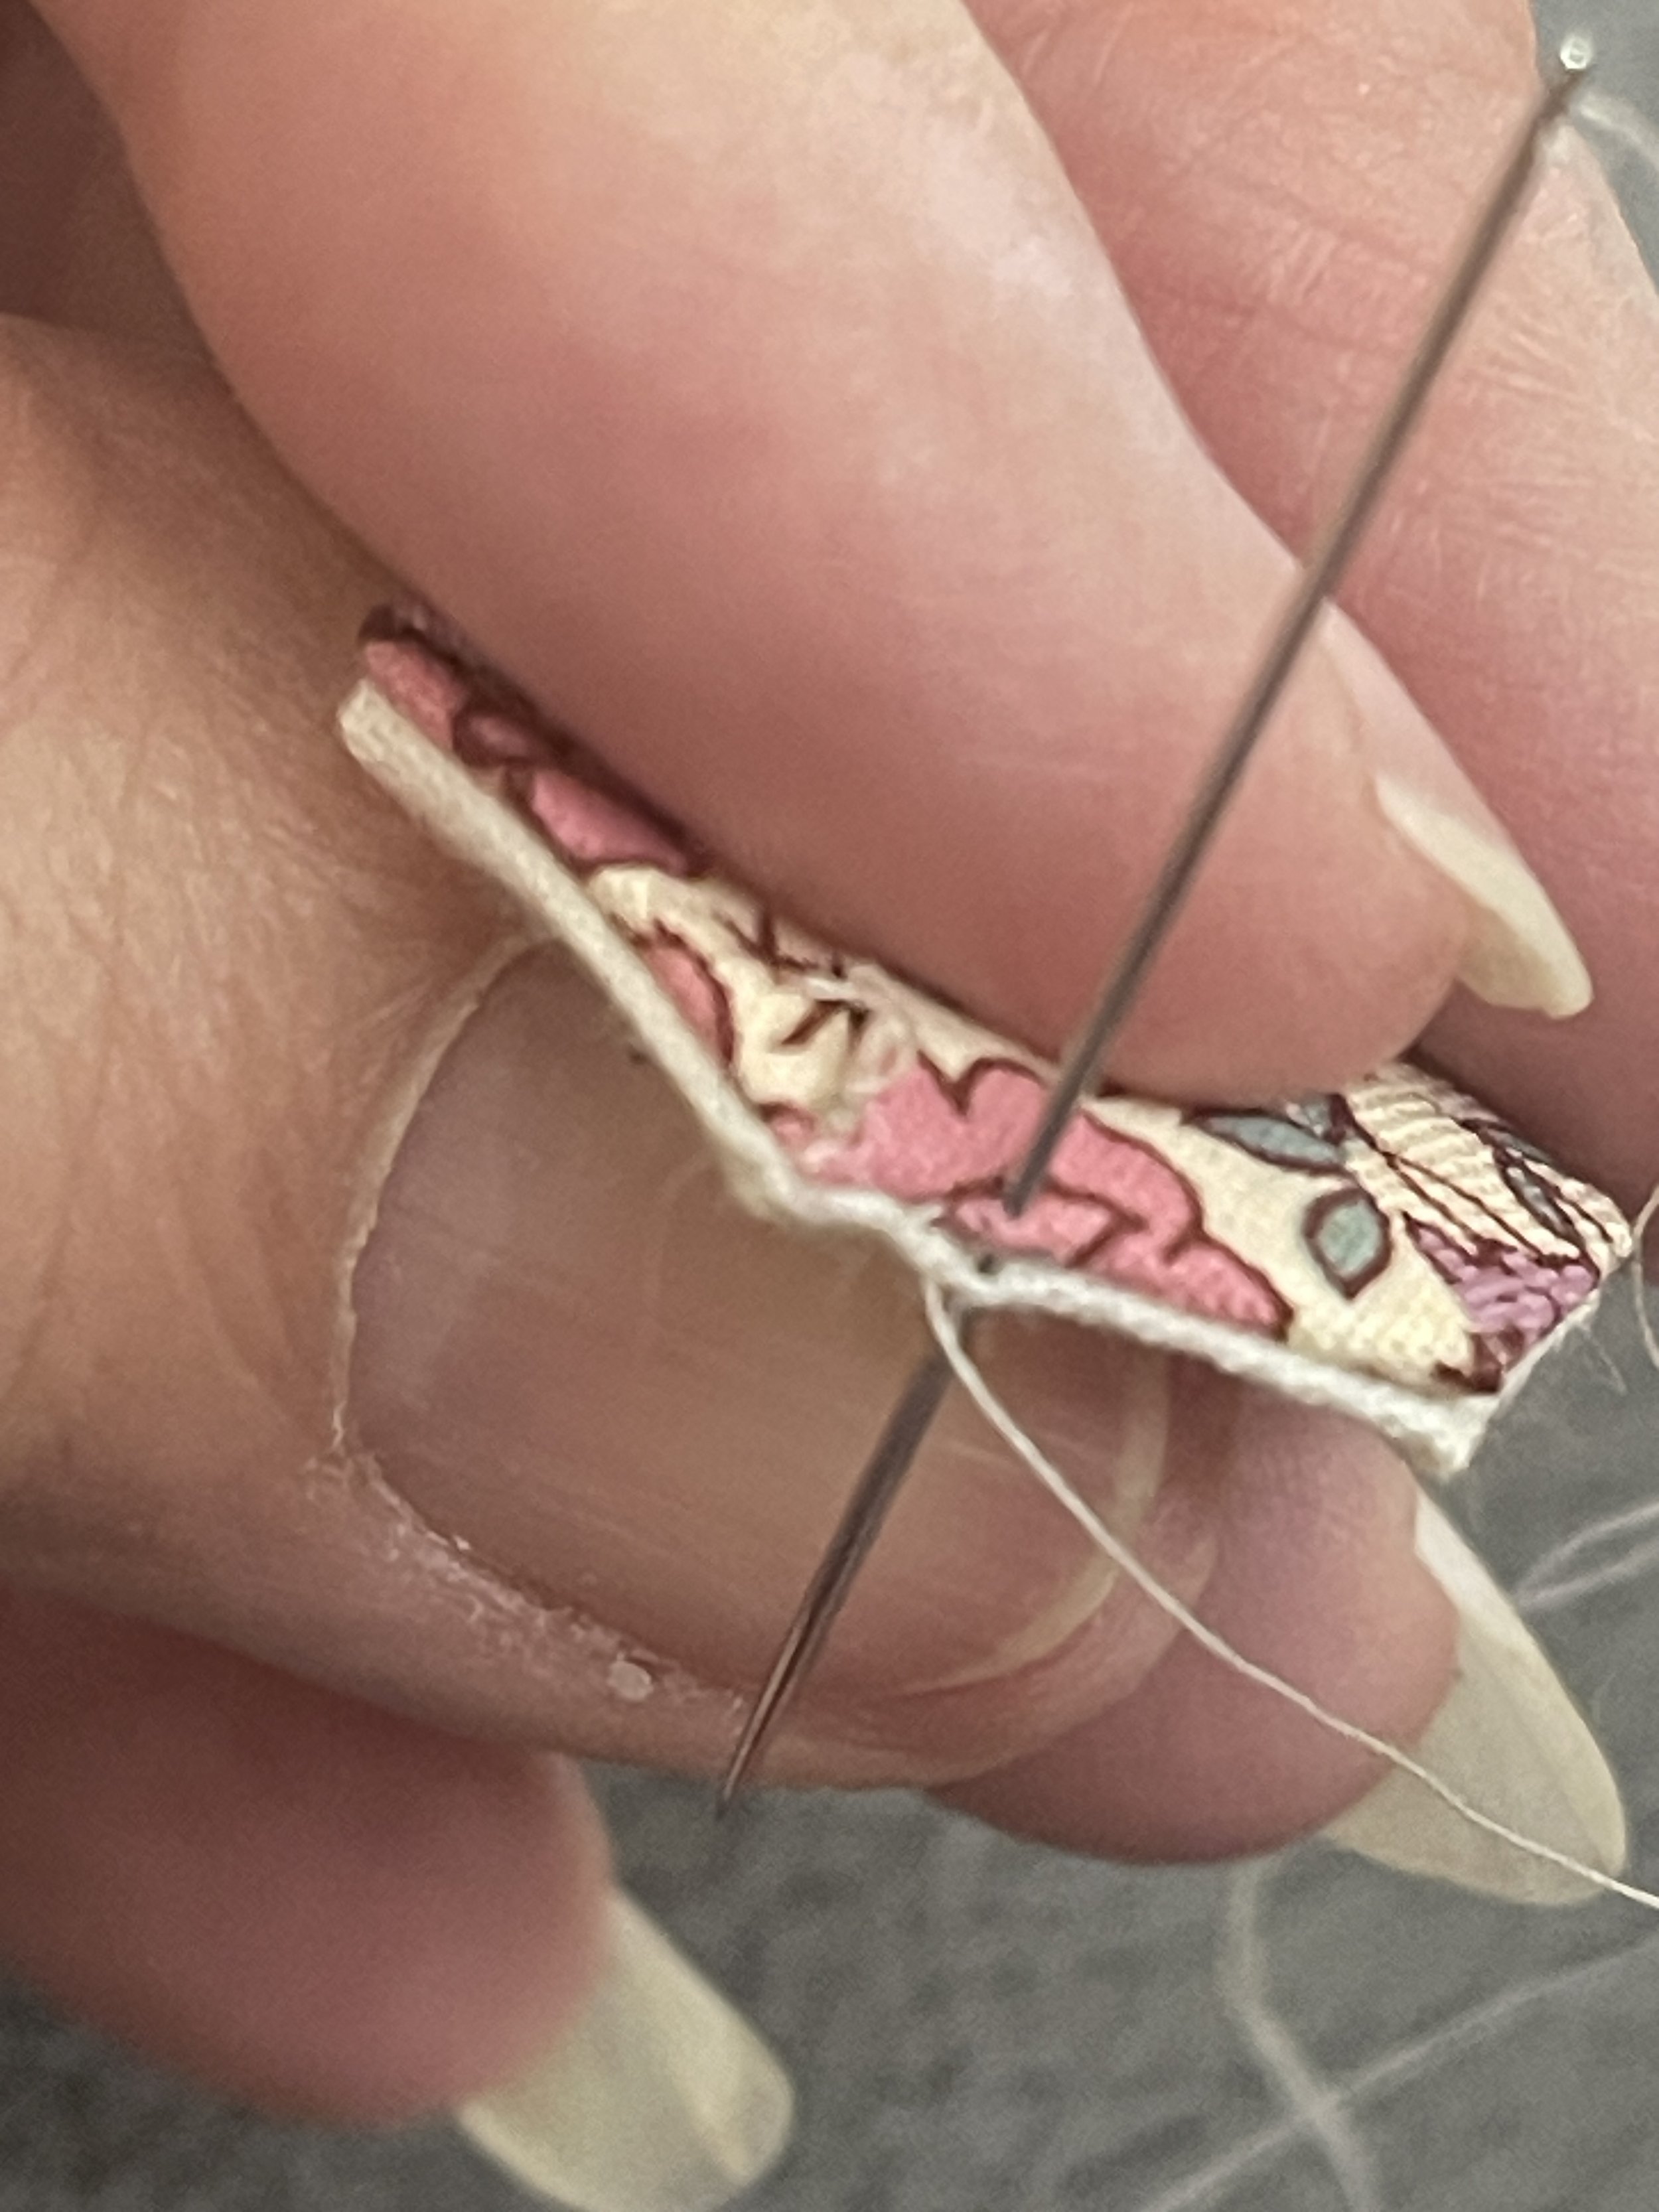
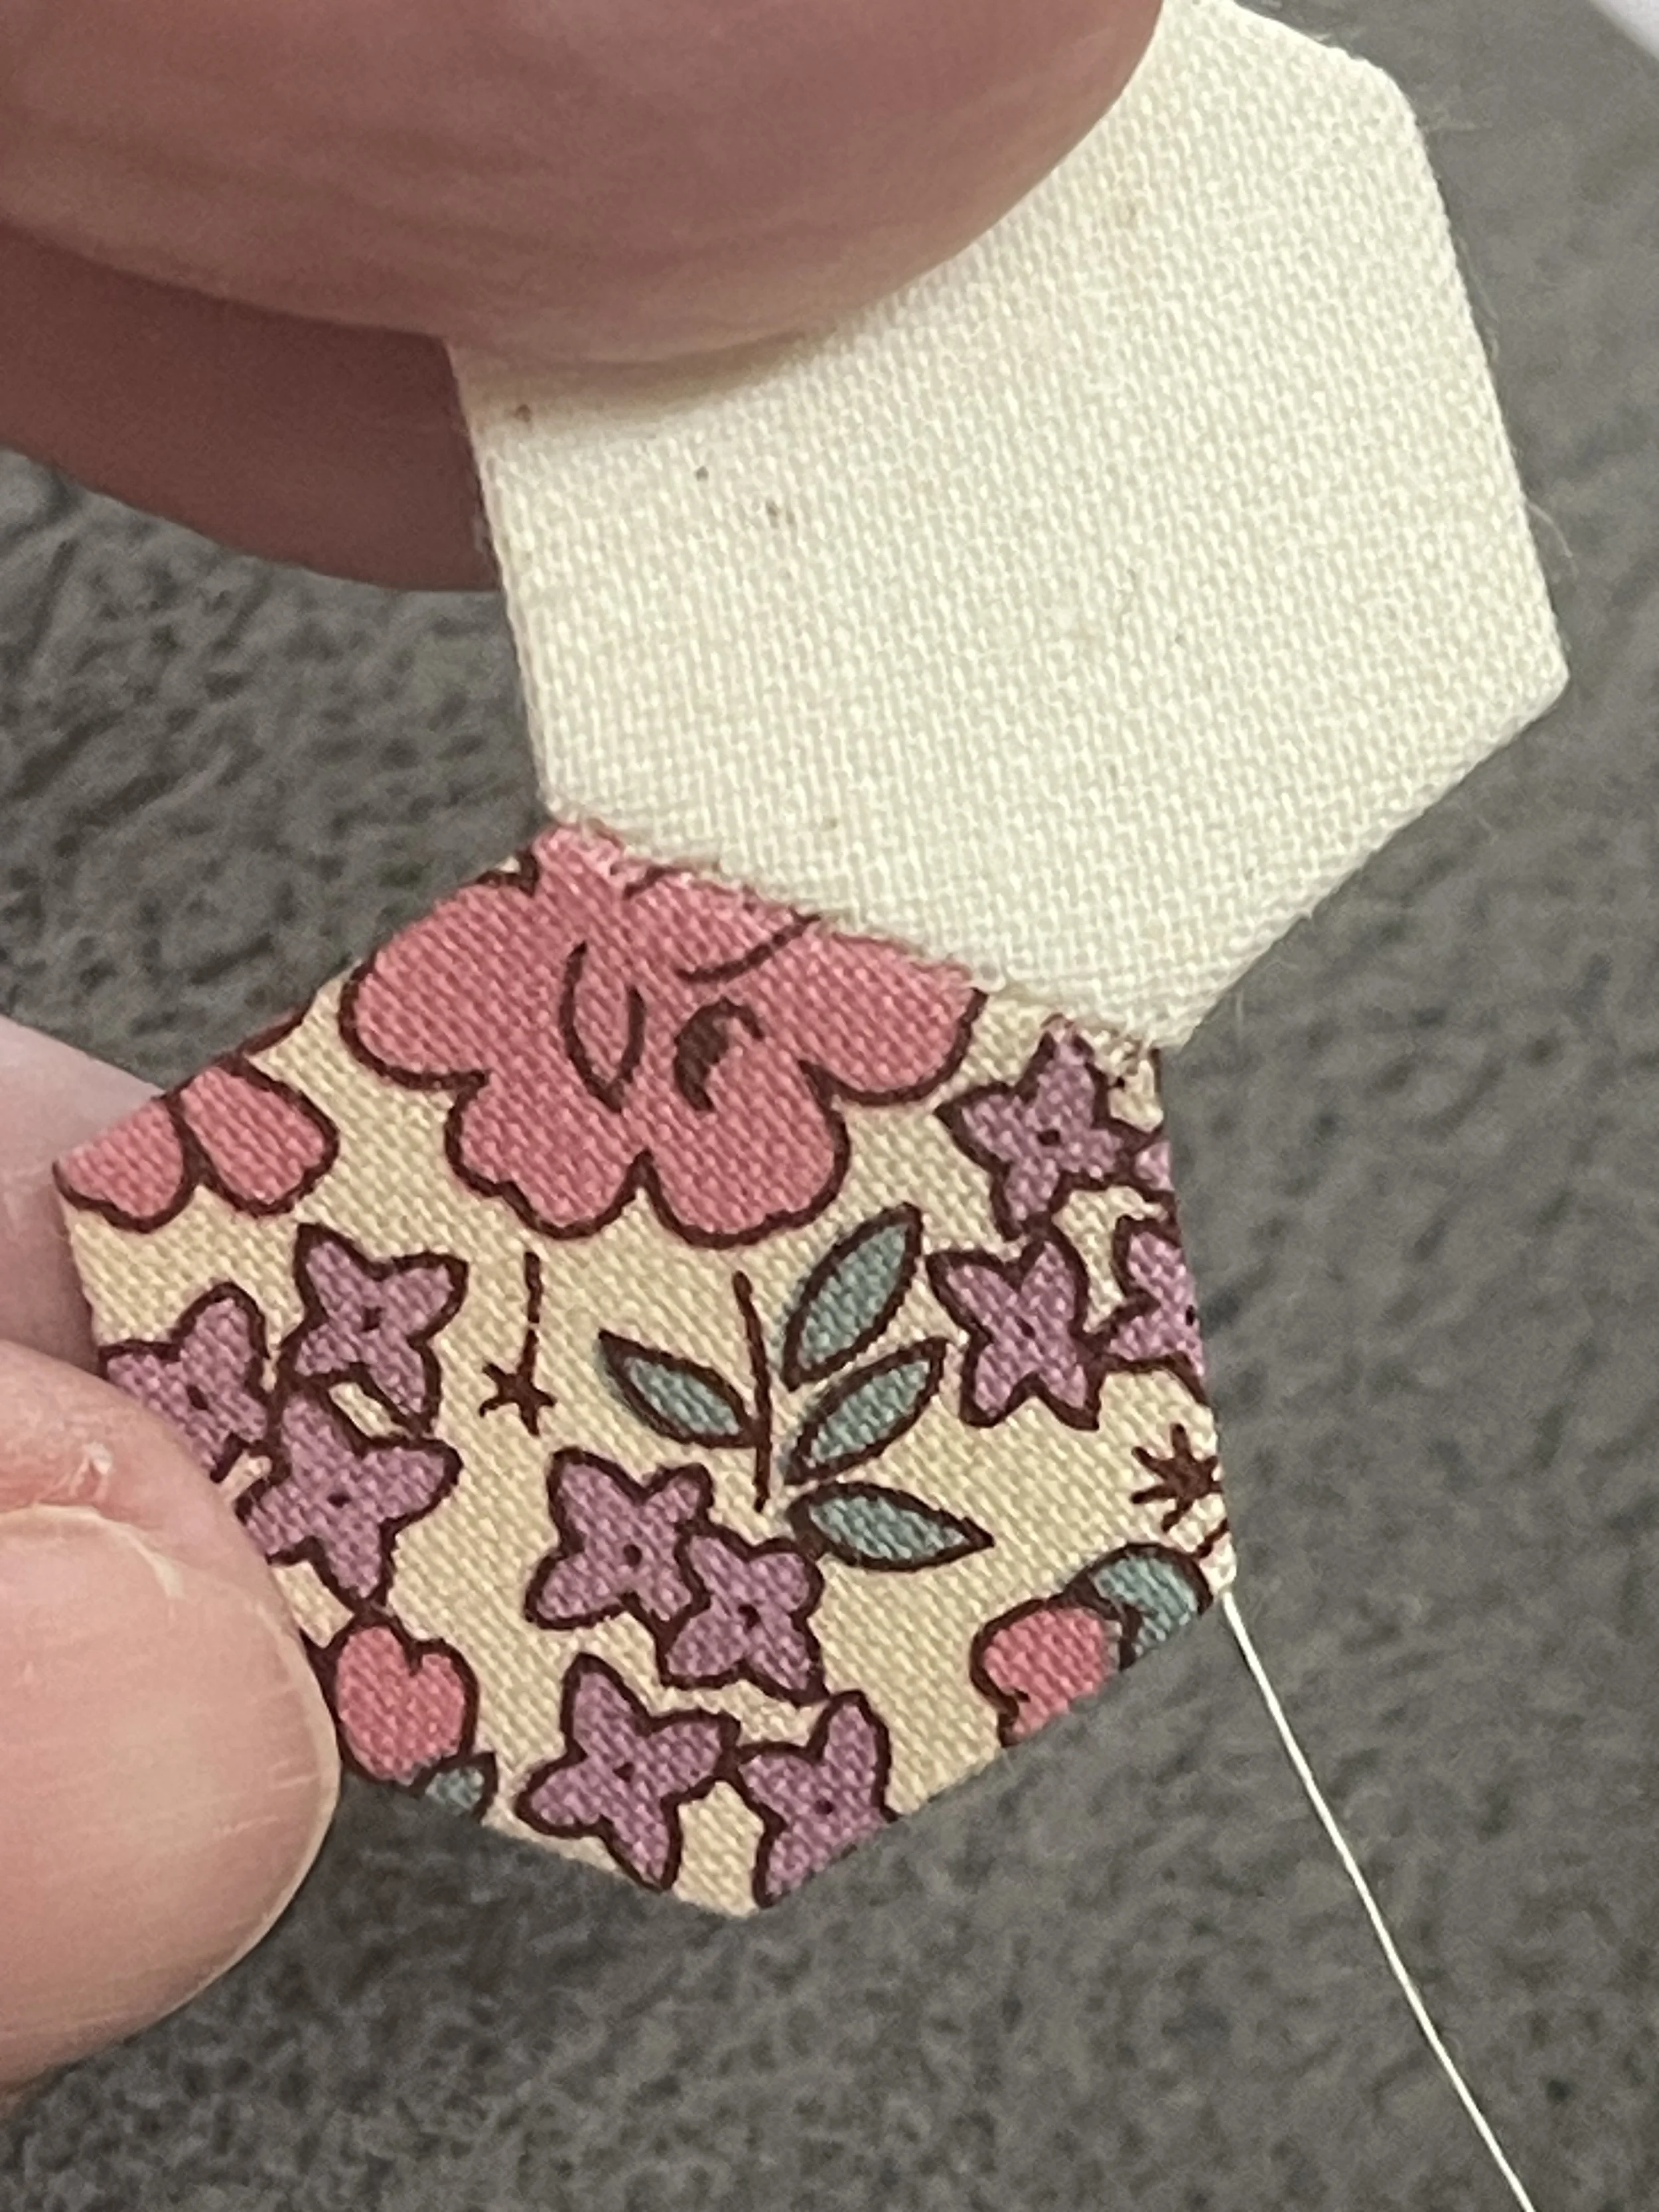
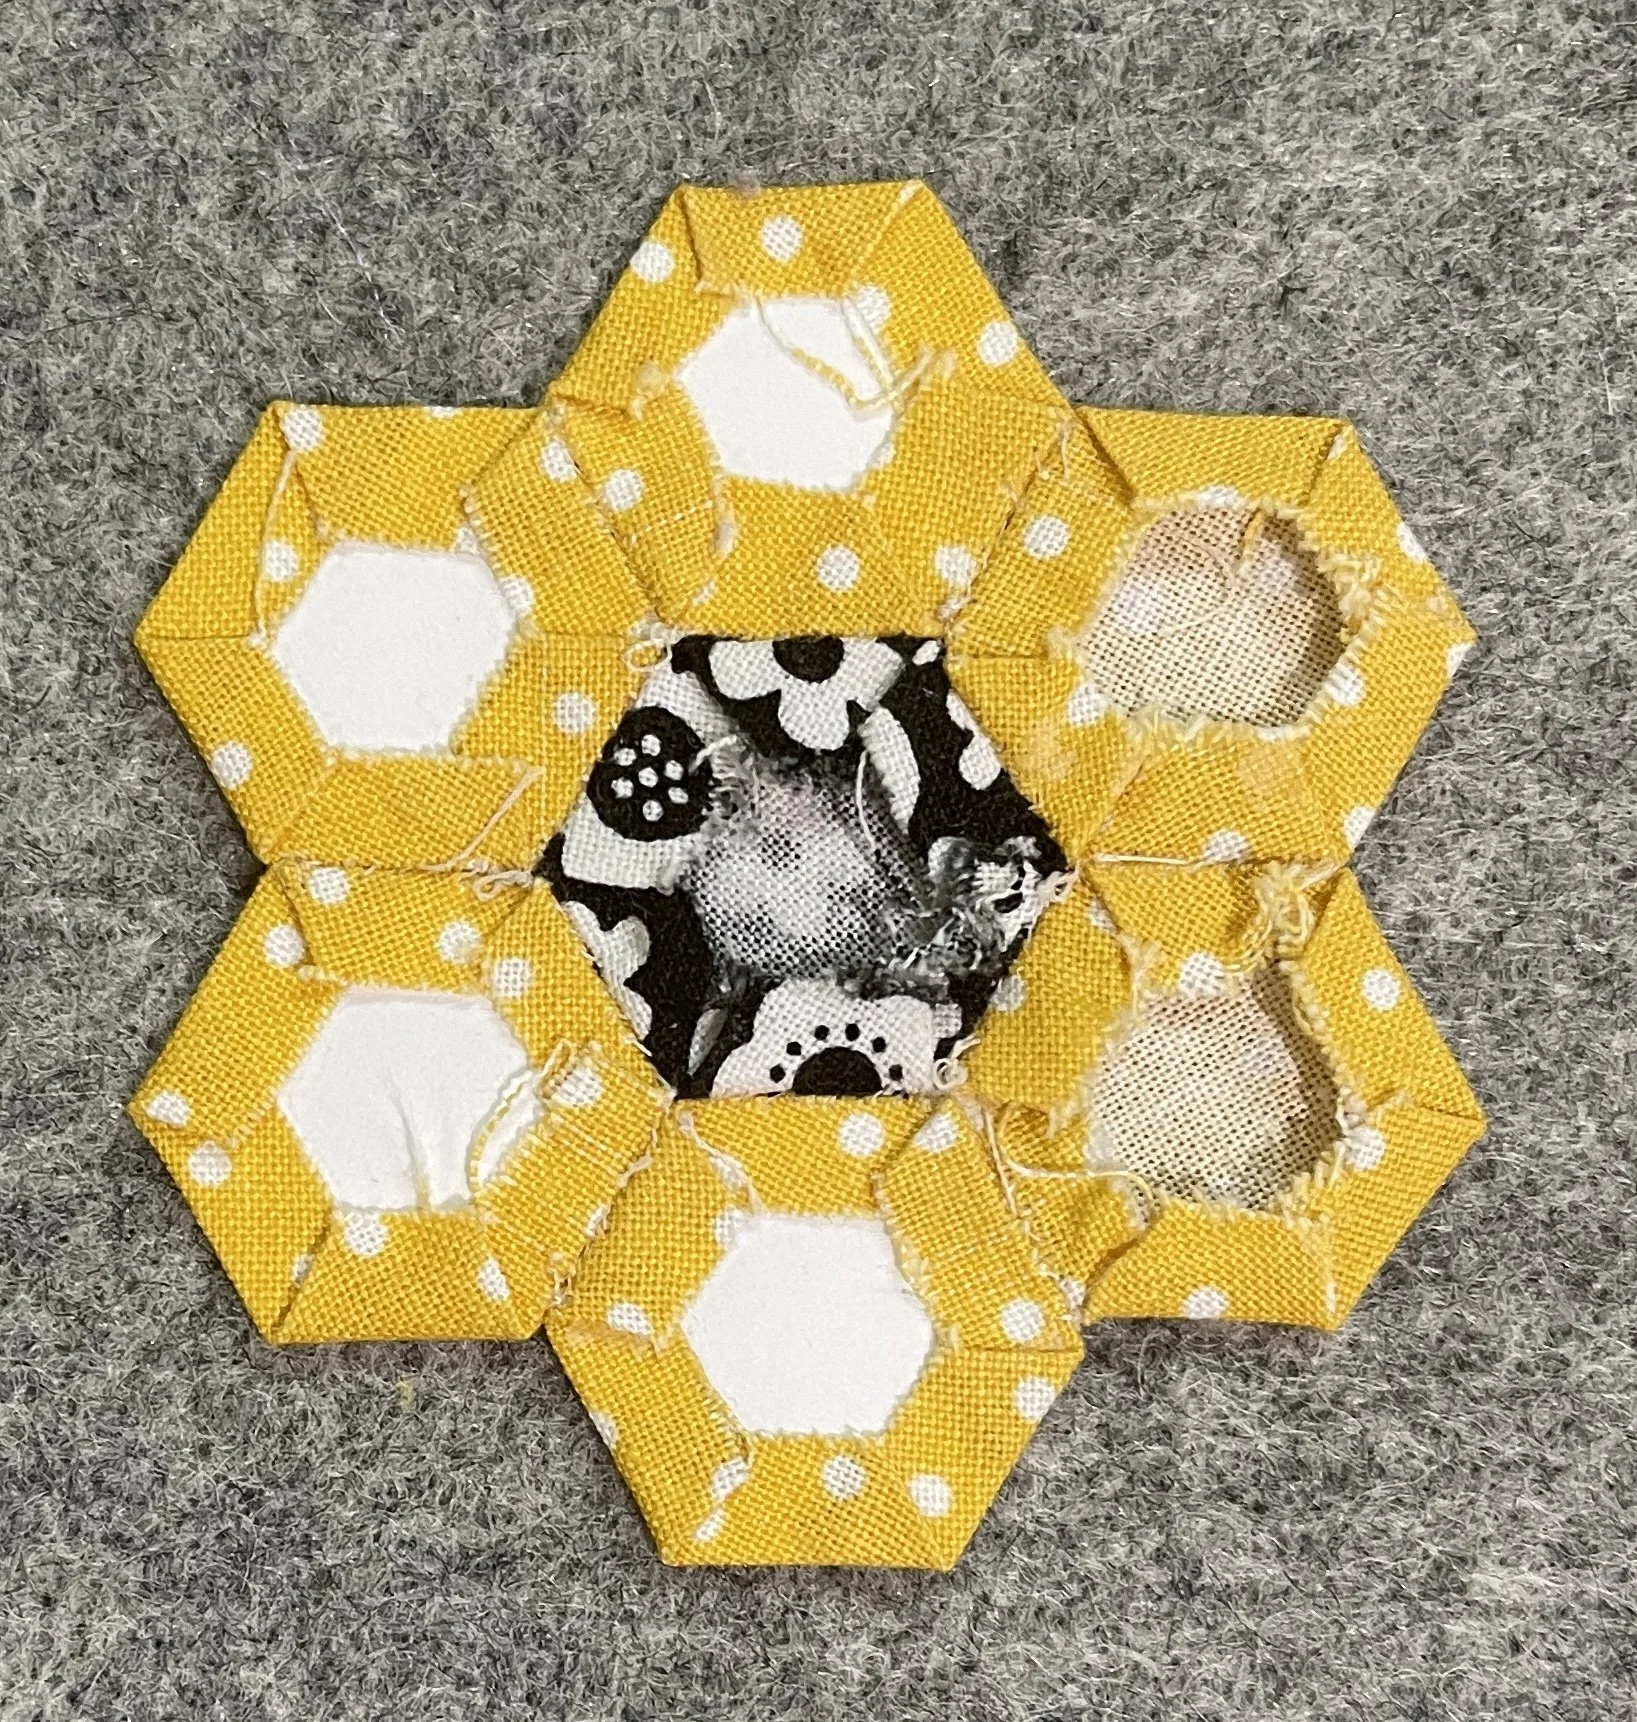
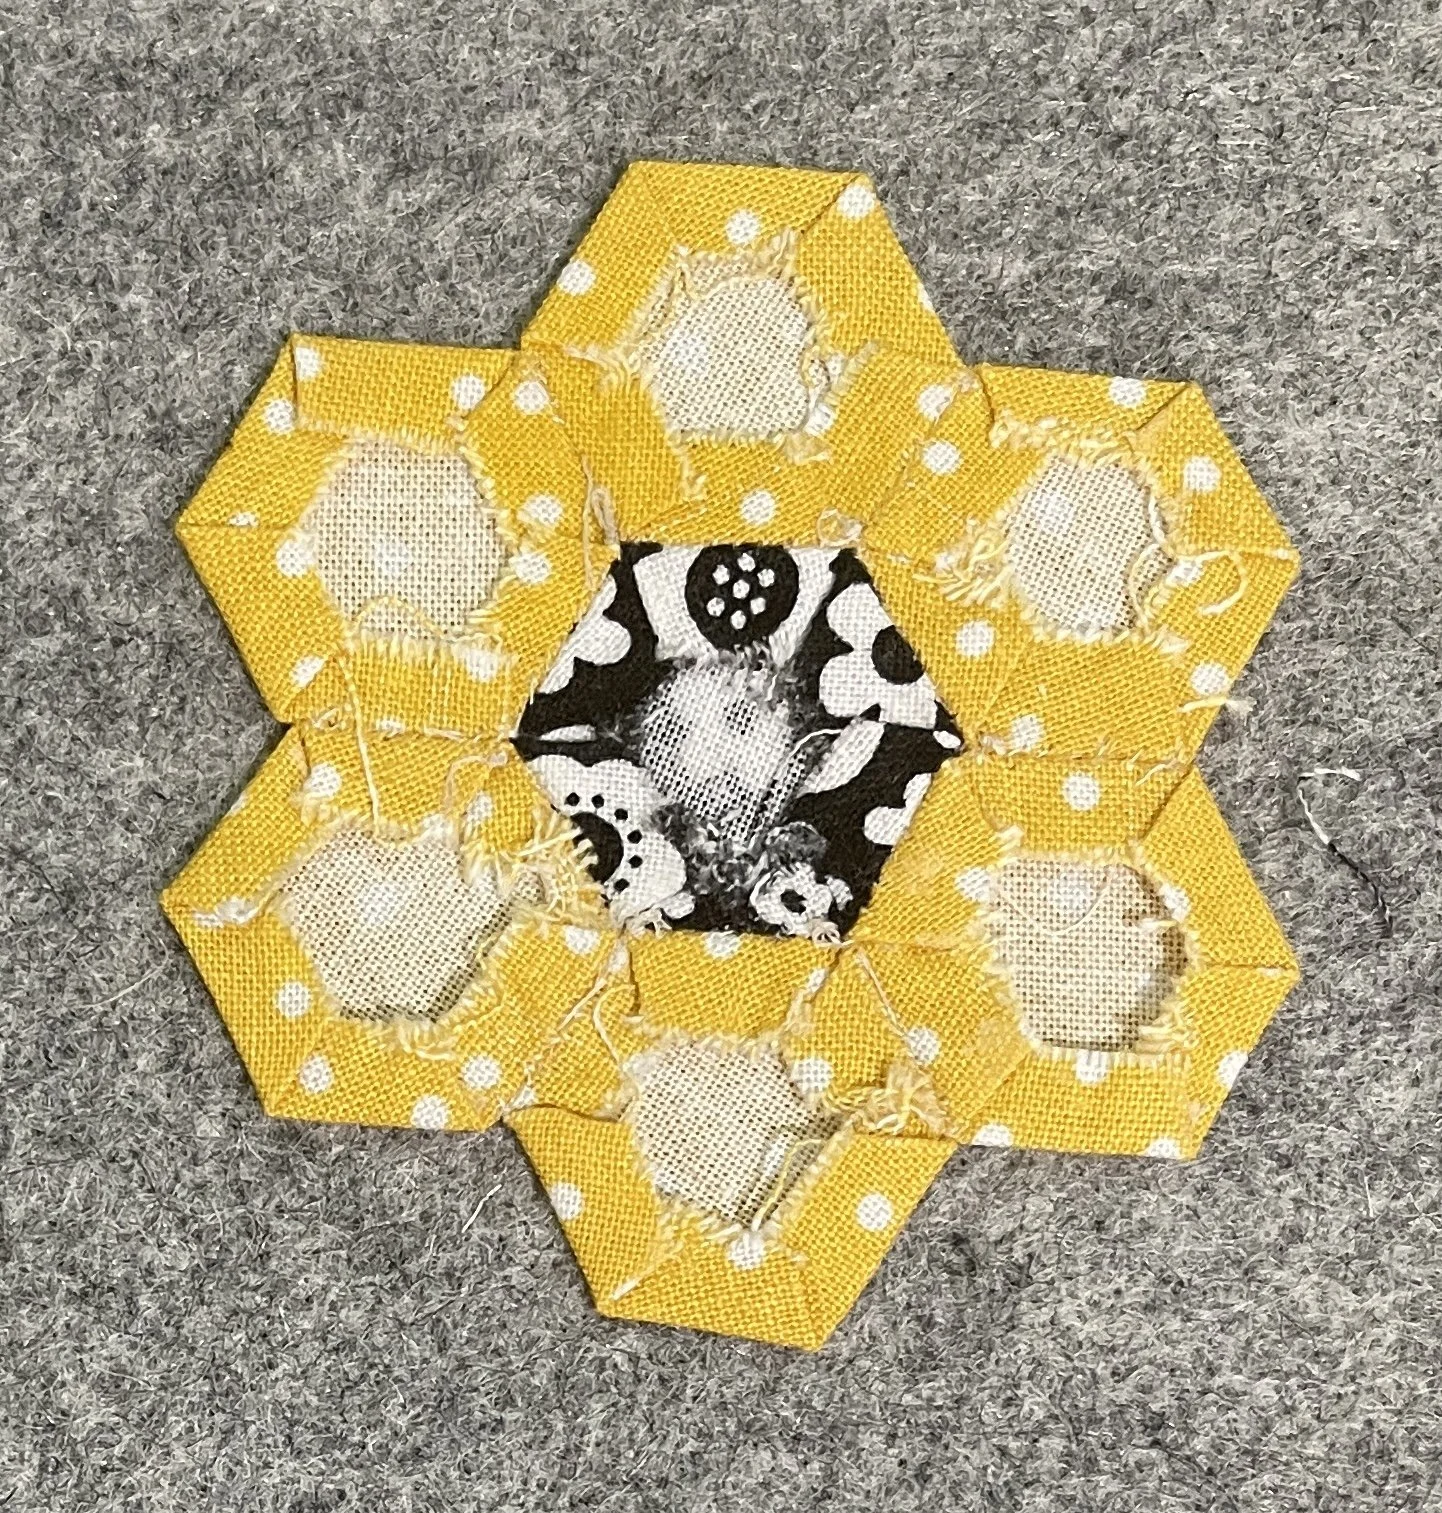
Hand stitch the 7 hexagon pieces together. I start with the middle piece and one petal. Use a very thin thread that compliments the fabrics. I use an Aurafil 80wt or 100wt thread. I usually use a light gray or off-white color for most of my projects. Use small stitches to join the edges of the pieces together. Sew on each petal and then join the petals together. Once the flower is completely stitched together, you will remove the card stock hexagons. I have found that starching the flower helps to keep the fabric stiff so when I take the card stock out the flower doesn’t lose its shape. Remove the card stock and press the flower again.

Fuse the appliqué product to the back of your flower and the other pieces that will create the rest of your design on your card. (For mine I cut out leaves and a stem from green fabric. I put the appliqué product on the entire piece of fabric and then cut out my shapes) Follow the manufacturer’s directions on how to fuse the product to the fabric. For some products if you heat them for too long they will no longer be sticky. (I used Sulky Perfect Applique for this project. It is paper backed.)
******************
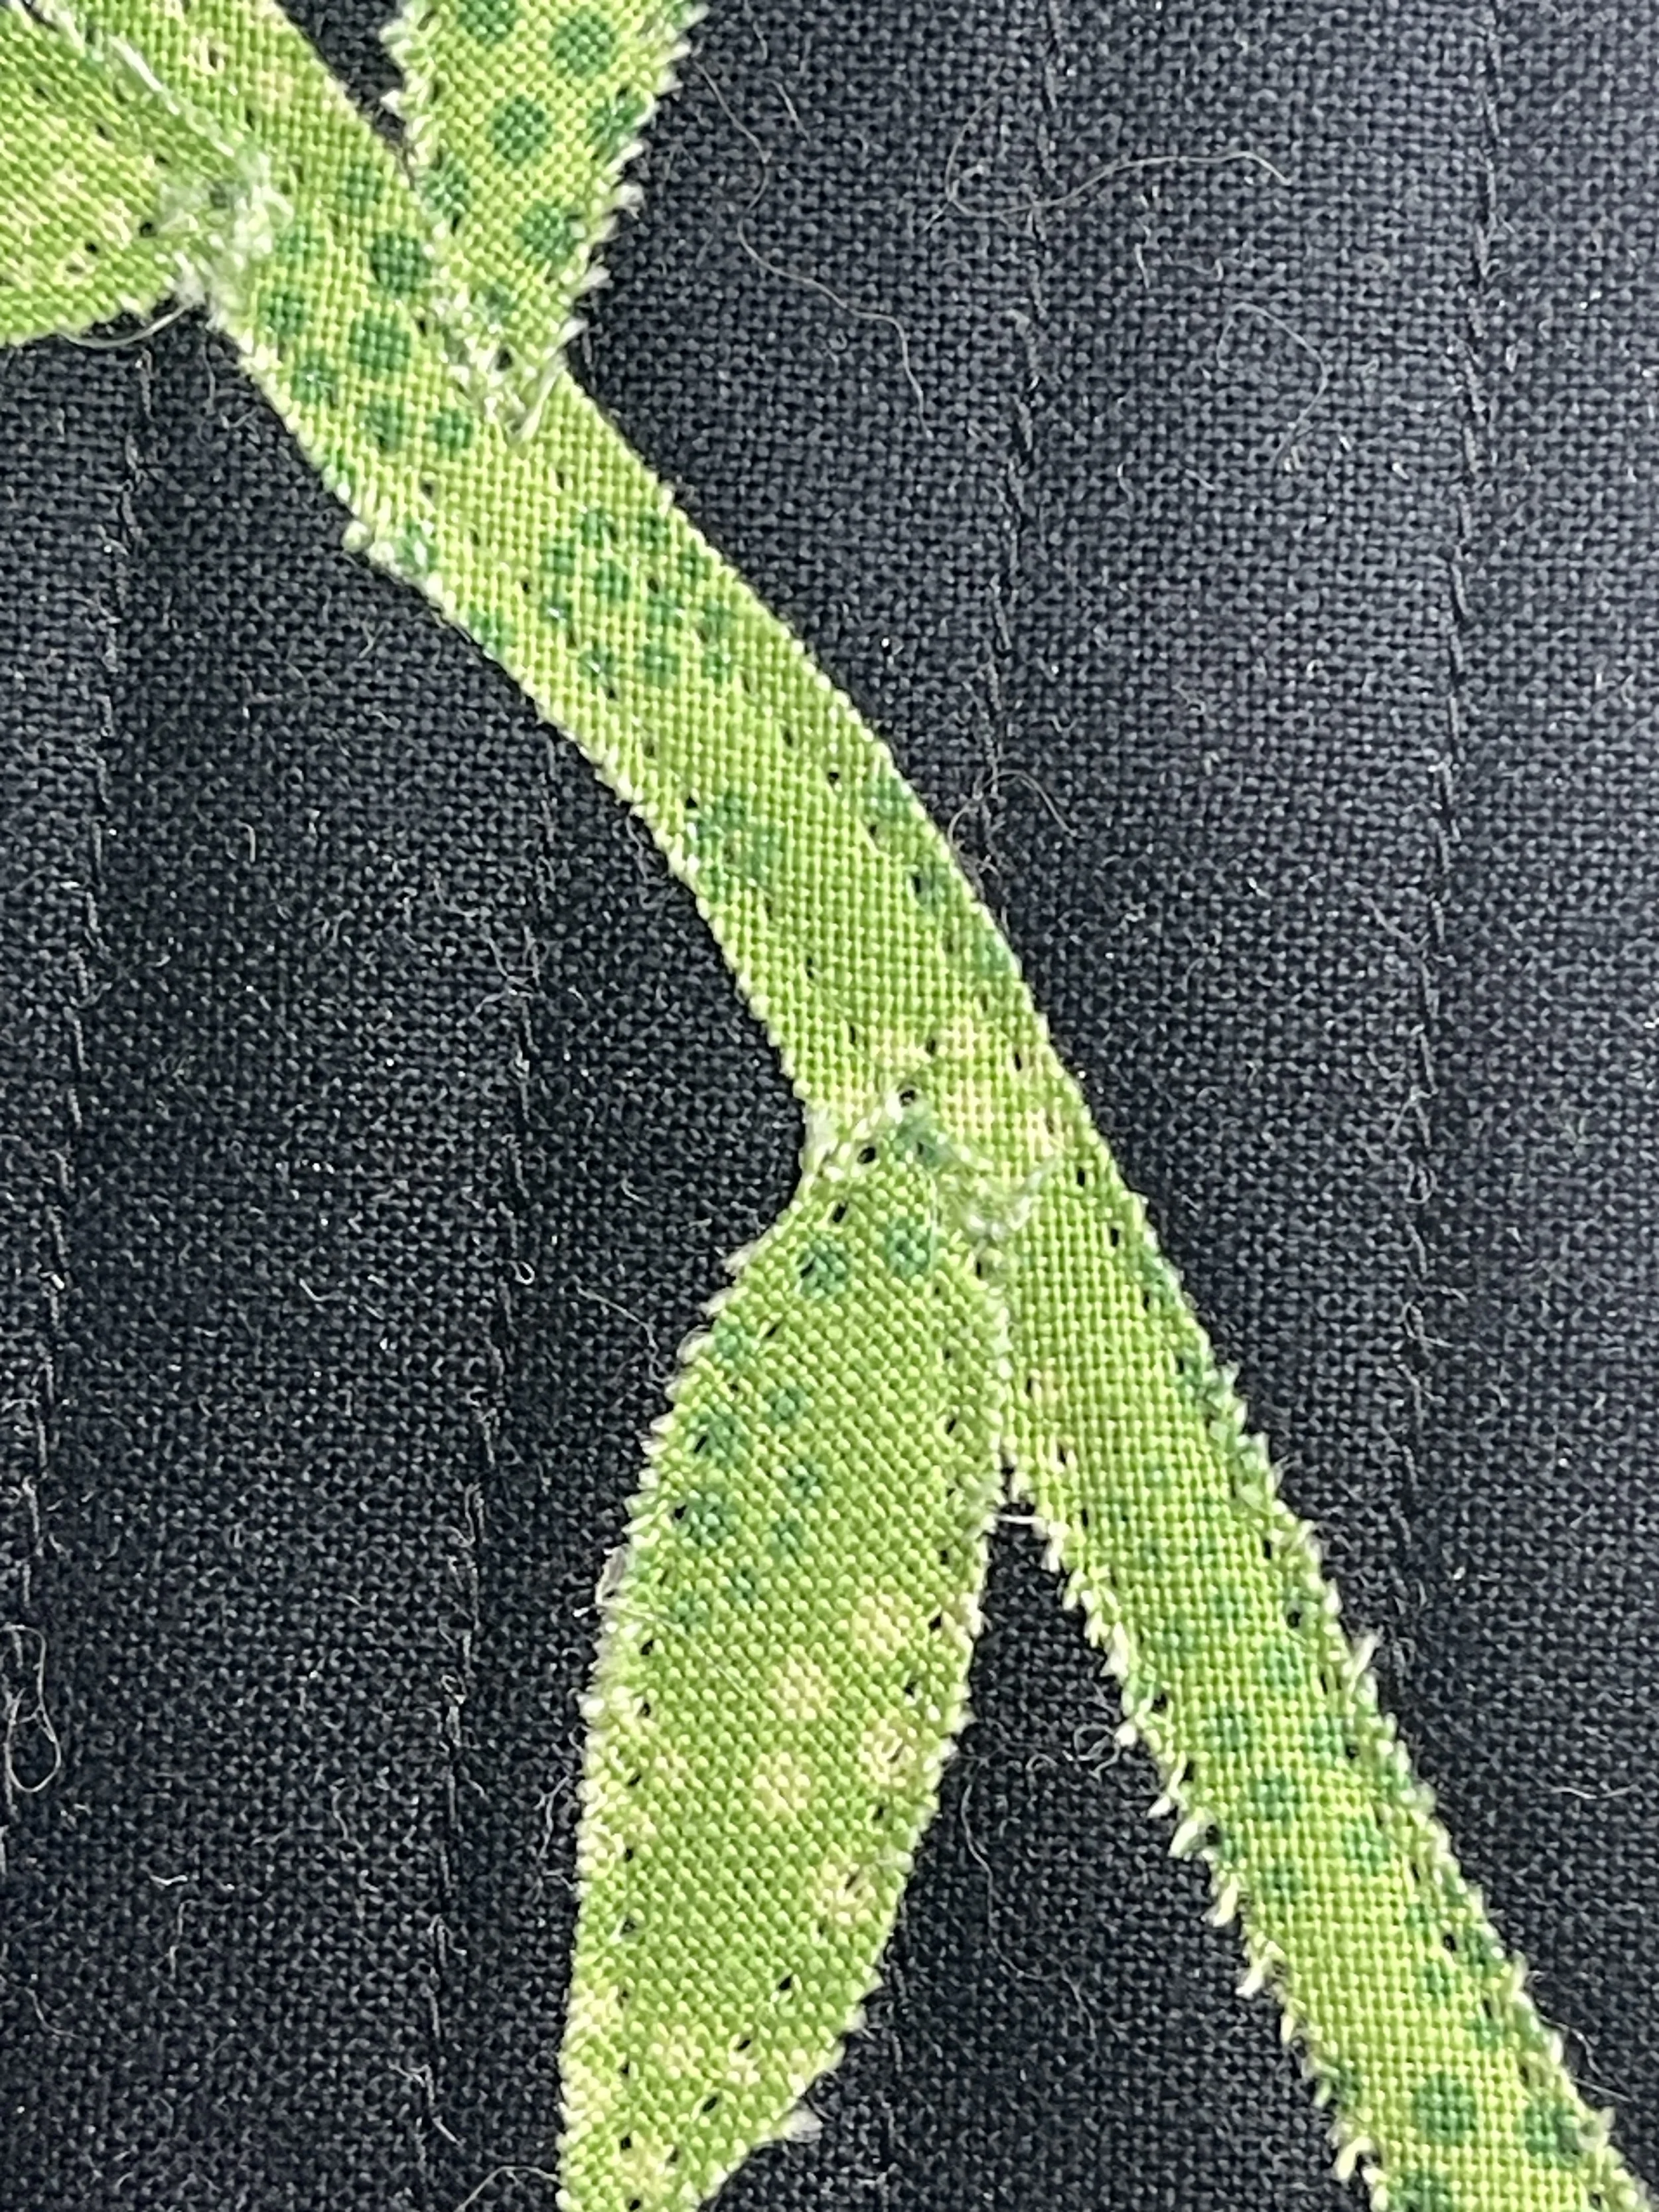
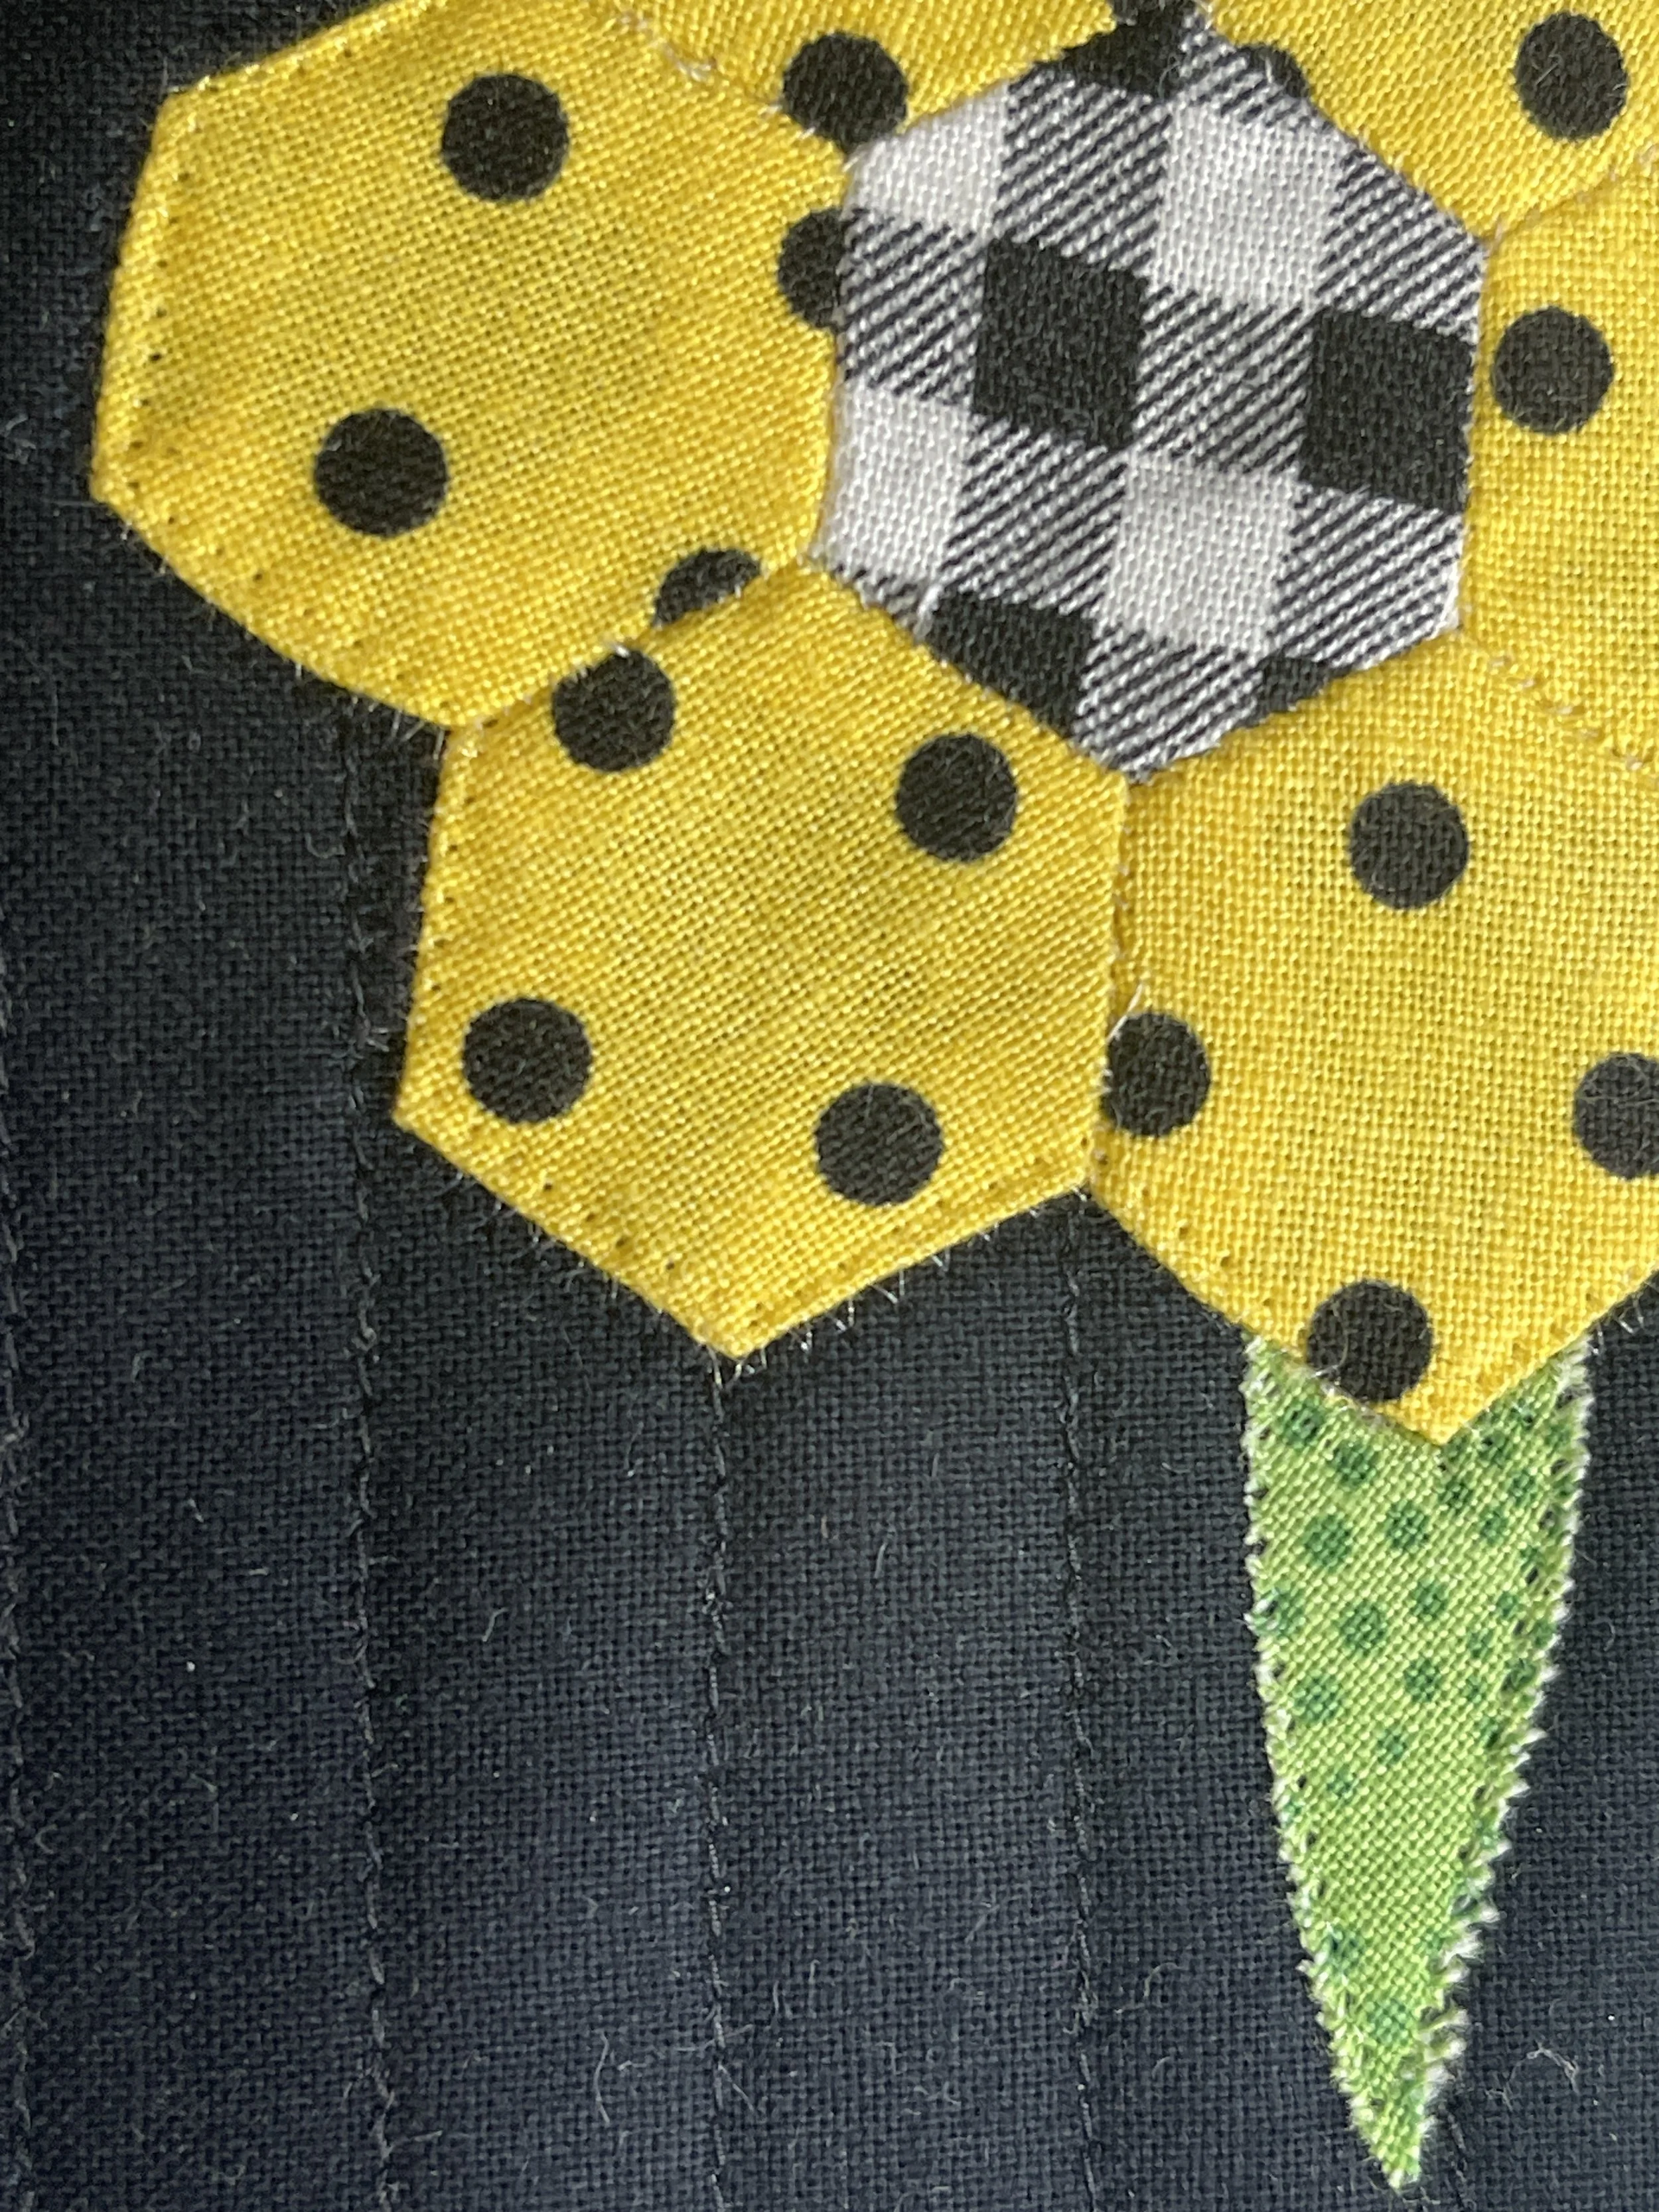
Once you have cut the shapes from your scraps that you want, peel off the paper backing and place your designs on your background piece (audition them in different placements before you decide where you want to fuse them onto the fabric and stitch them down). Use either straight stitching or a small zig-zag stitch to secure the pieces to the background. For my design I stitched the stem, then the leaves, and finally the flower. On the stem and the leaves I used a straight stitch and on the flower I used a small zig-zag stitch. (See the close up of the stem, leaf, and flower edges)
********************
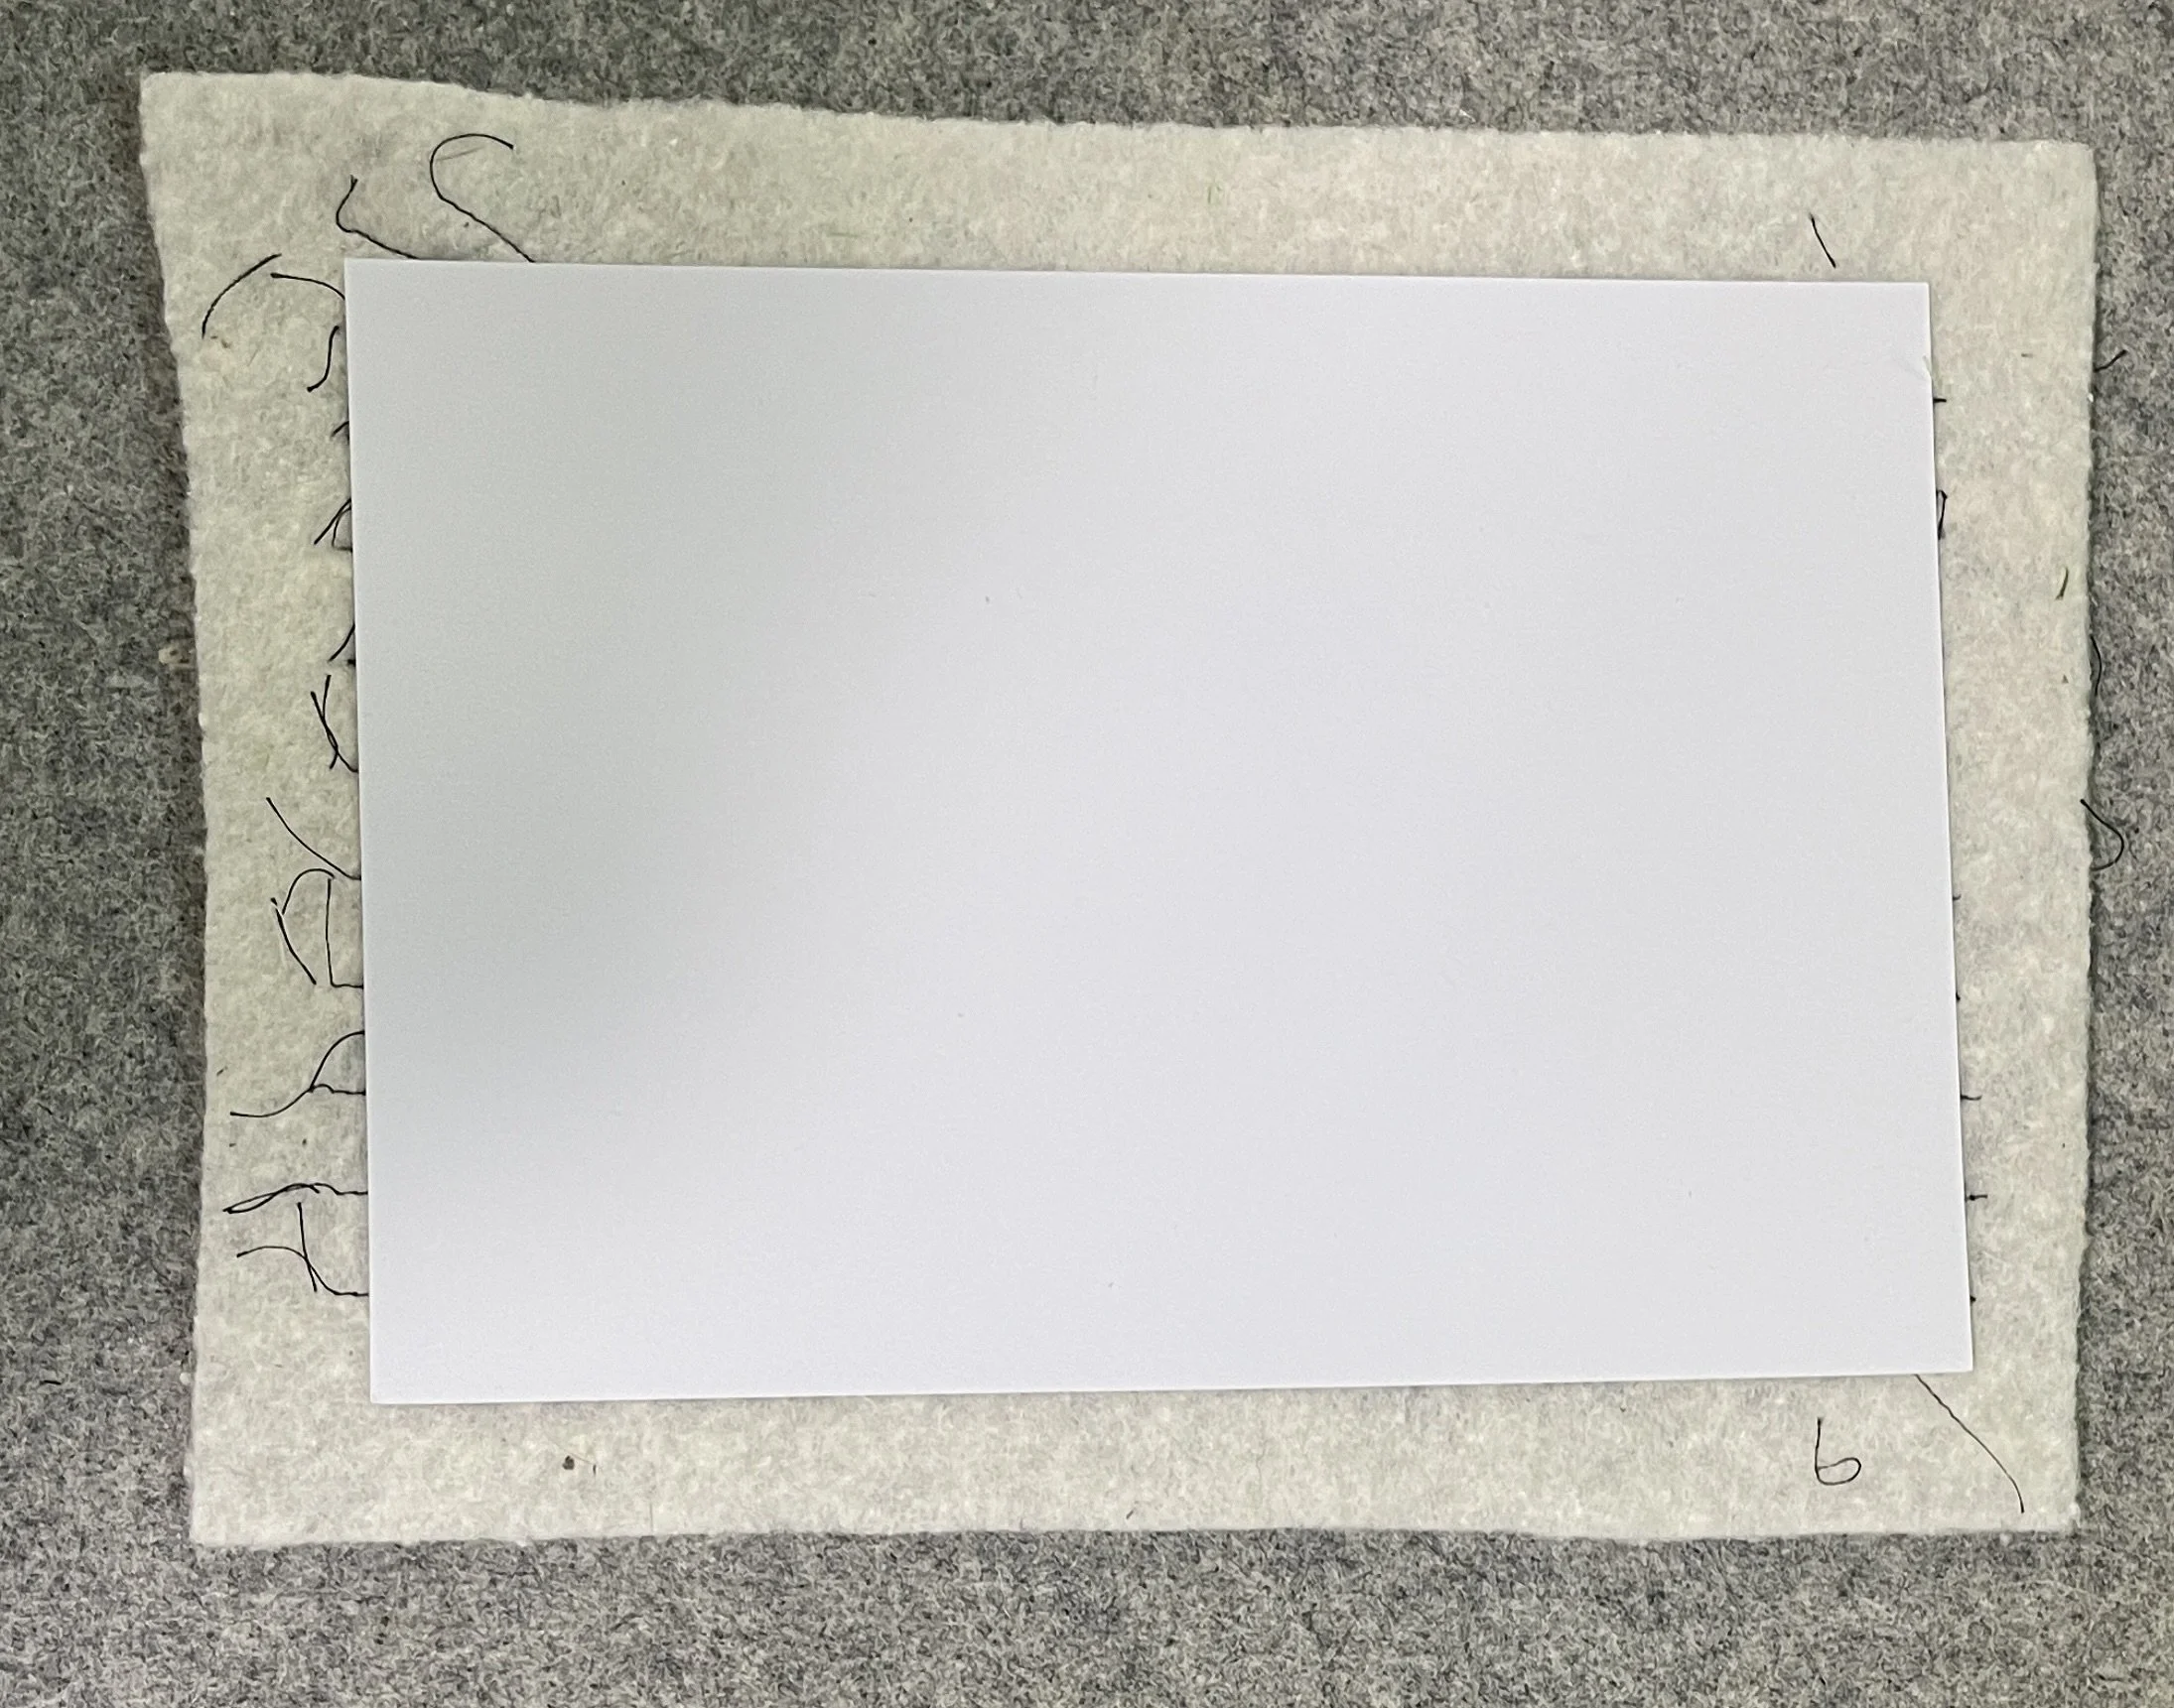
Once you have sewn all of your designs onto the background it is time to attach the card stock. Turn the fabric right side down and either apply an appliqué product or use a spray glue. (I often use the 505 spray adhesive for this type of a project, but if you don’t have any, use your appliqué product.) Spray or add adhesive to the back of the fabric piece, which will be the batting. Place the card stock on the back of the batting. Gently iron the card stock side to adhere the card stock to the batting. Check your placement so that when you trim it to 4” X 6” the front will be how you like it.
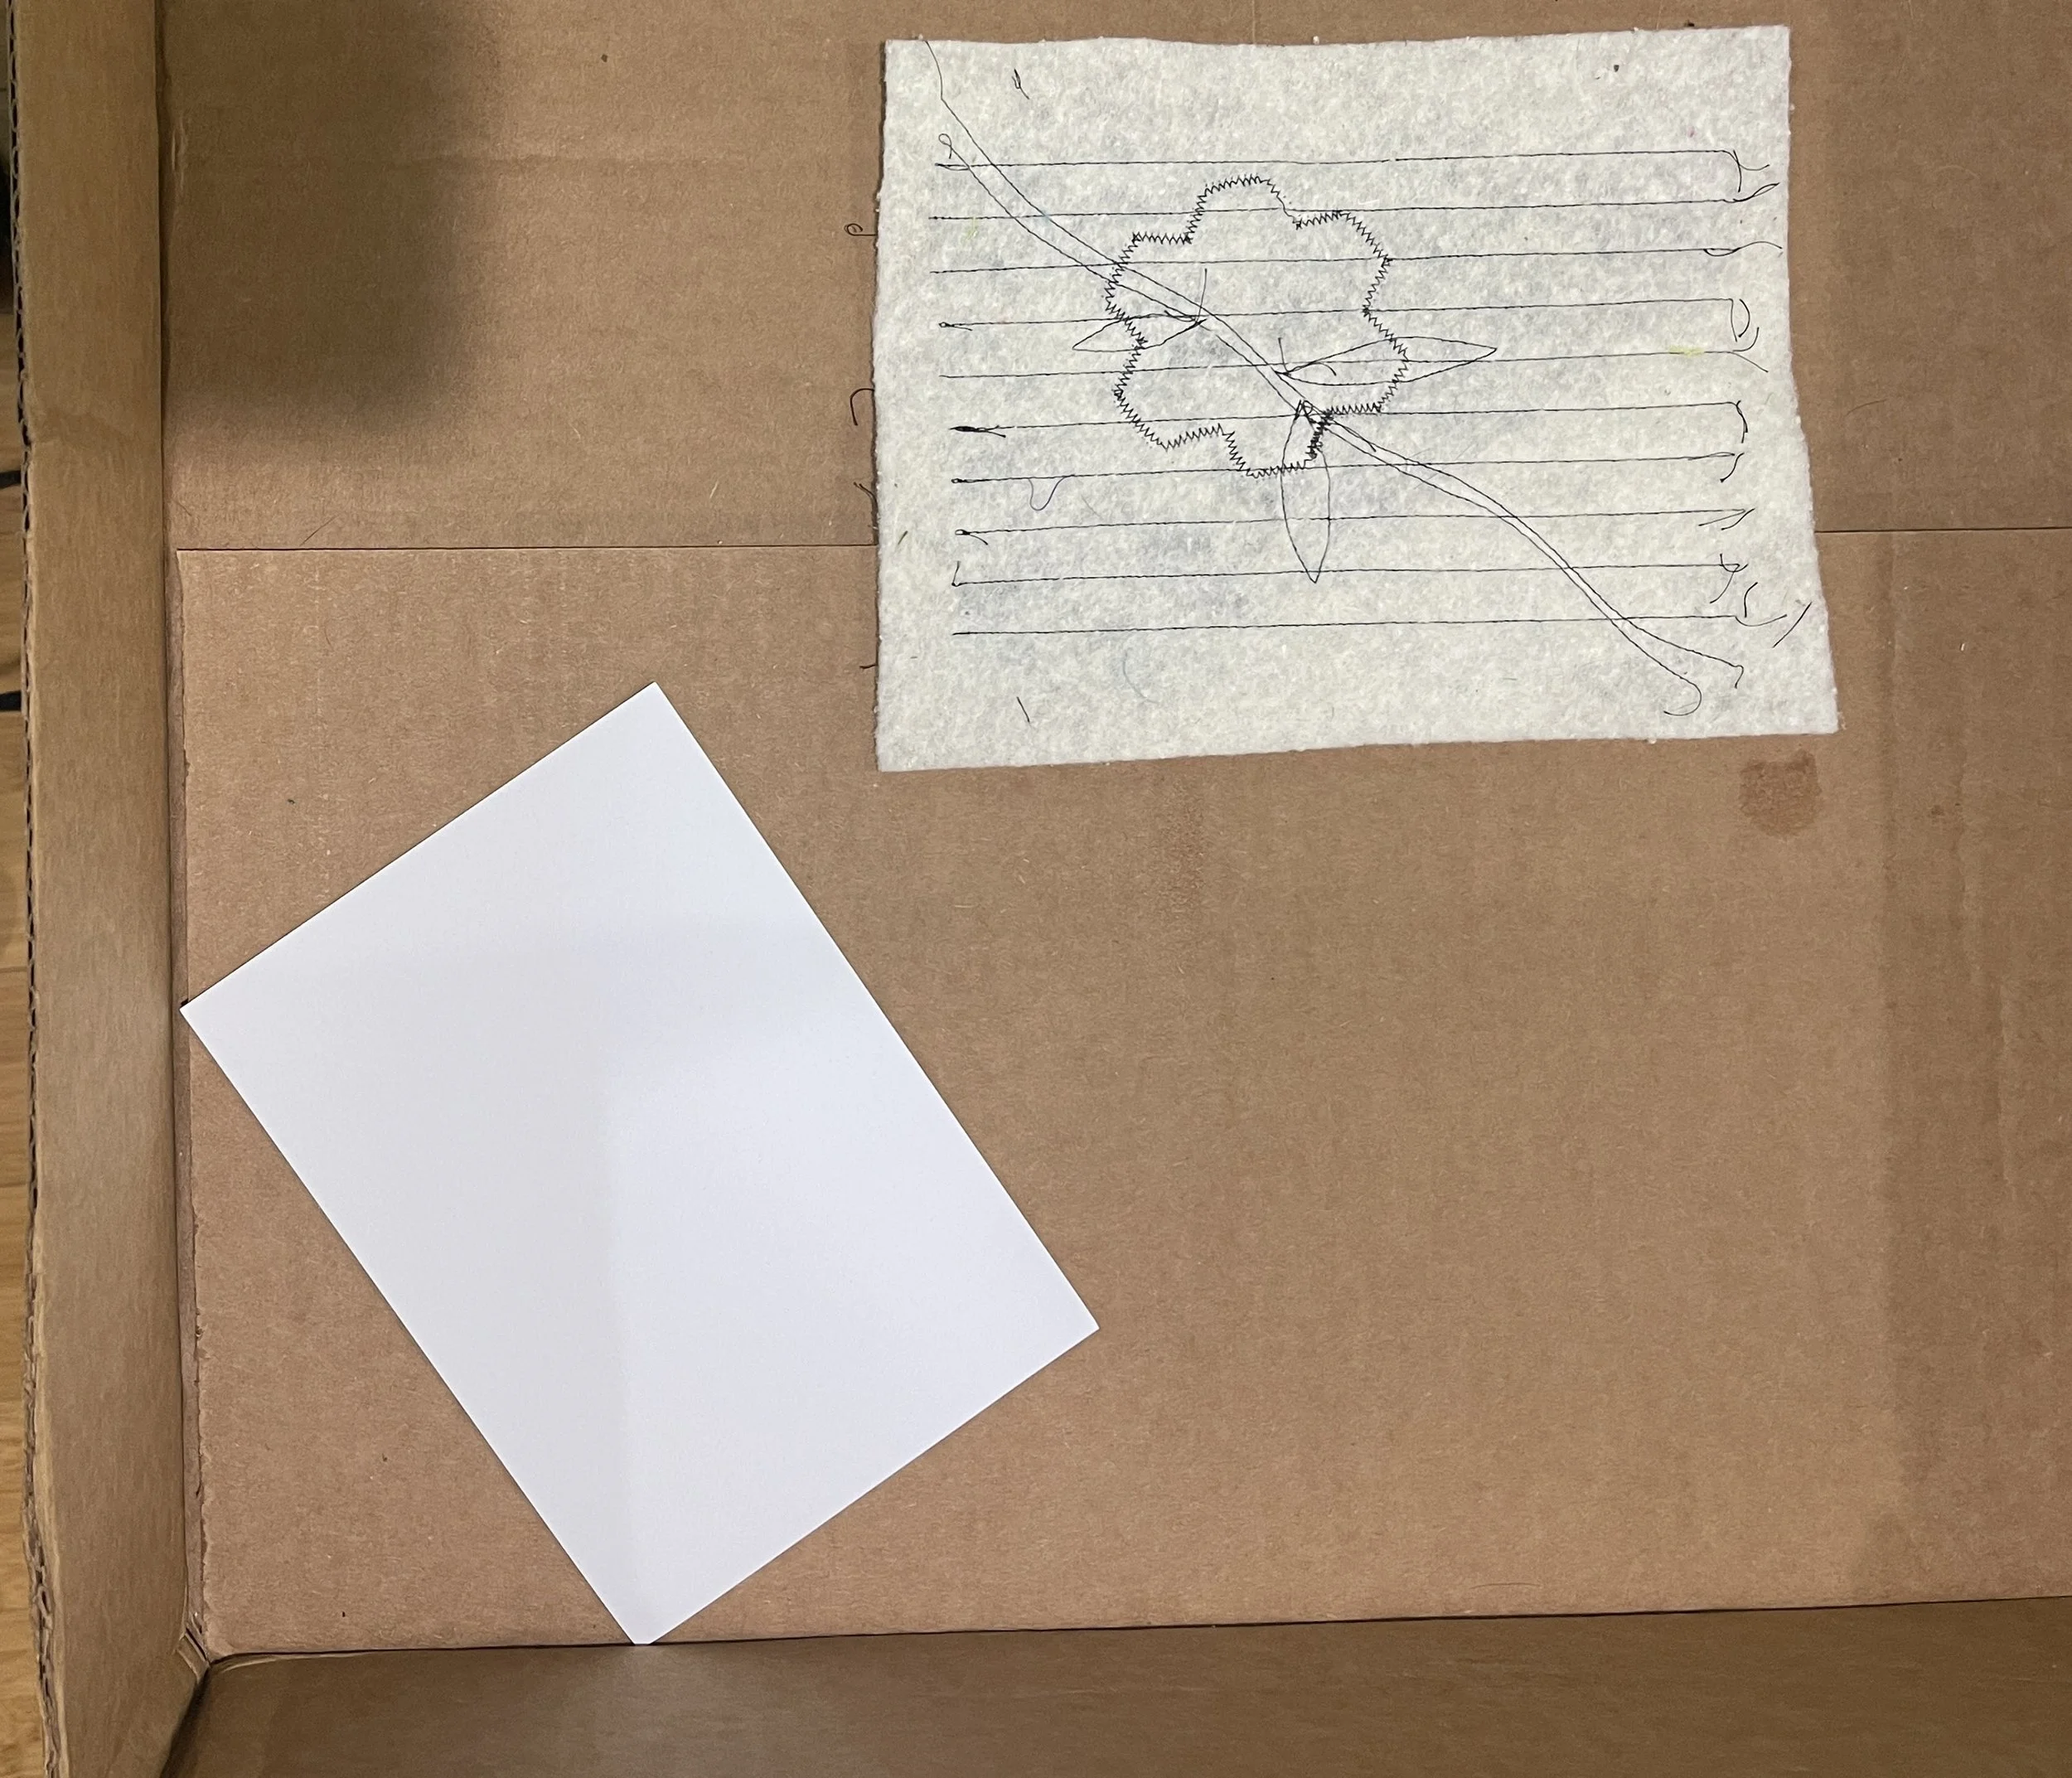
I have a cardboard box lid that I keep just for spraying adhesive on projects. It keeps the glue from getting on other things in my studio.
********************
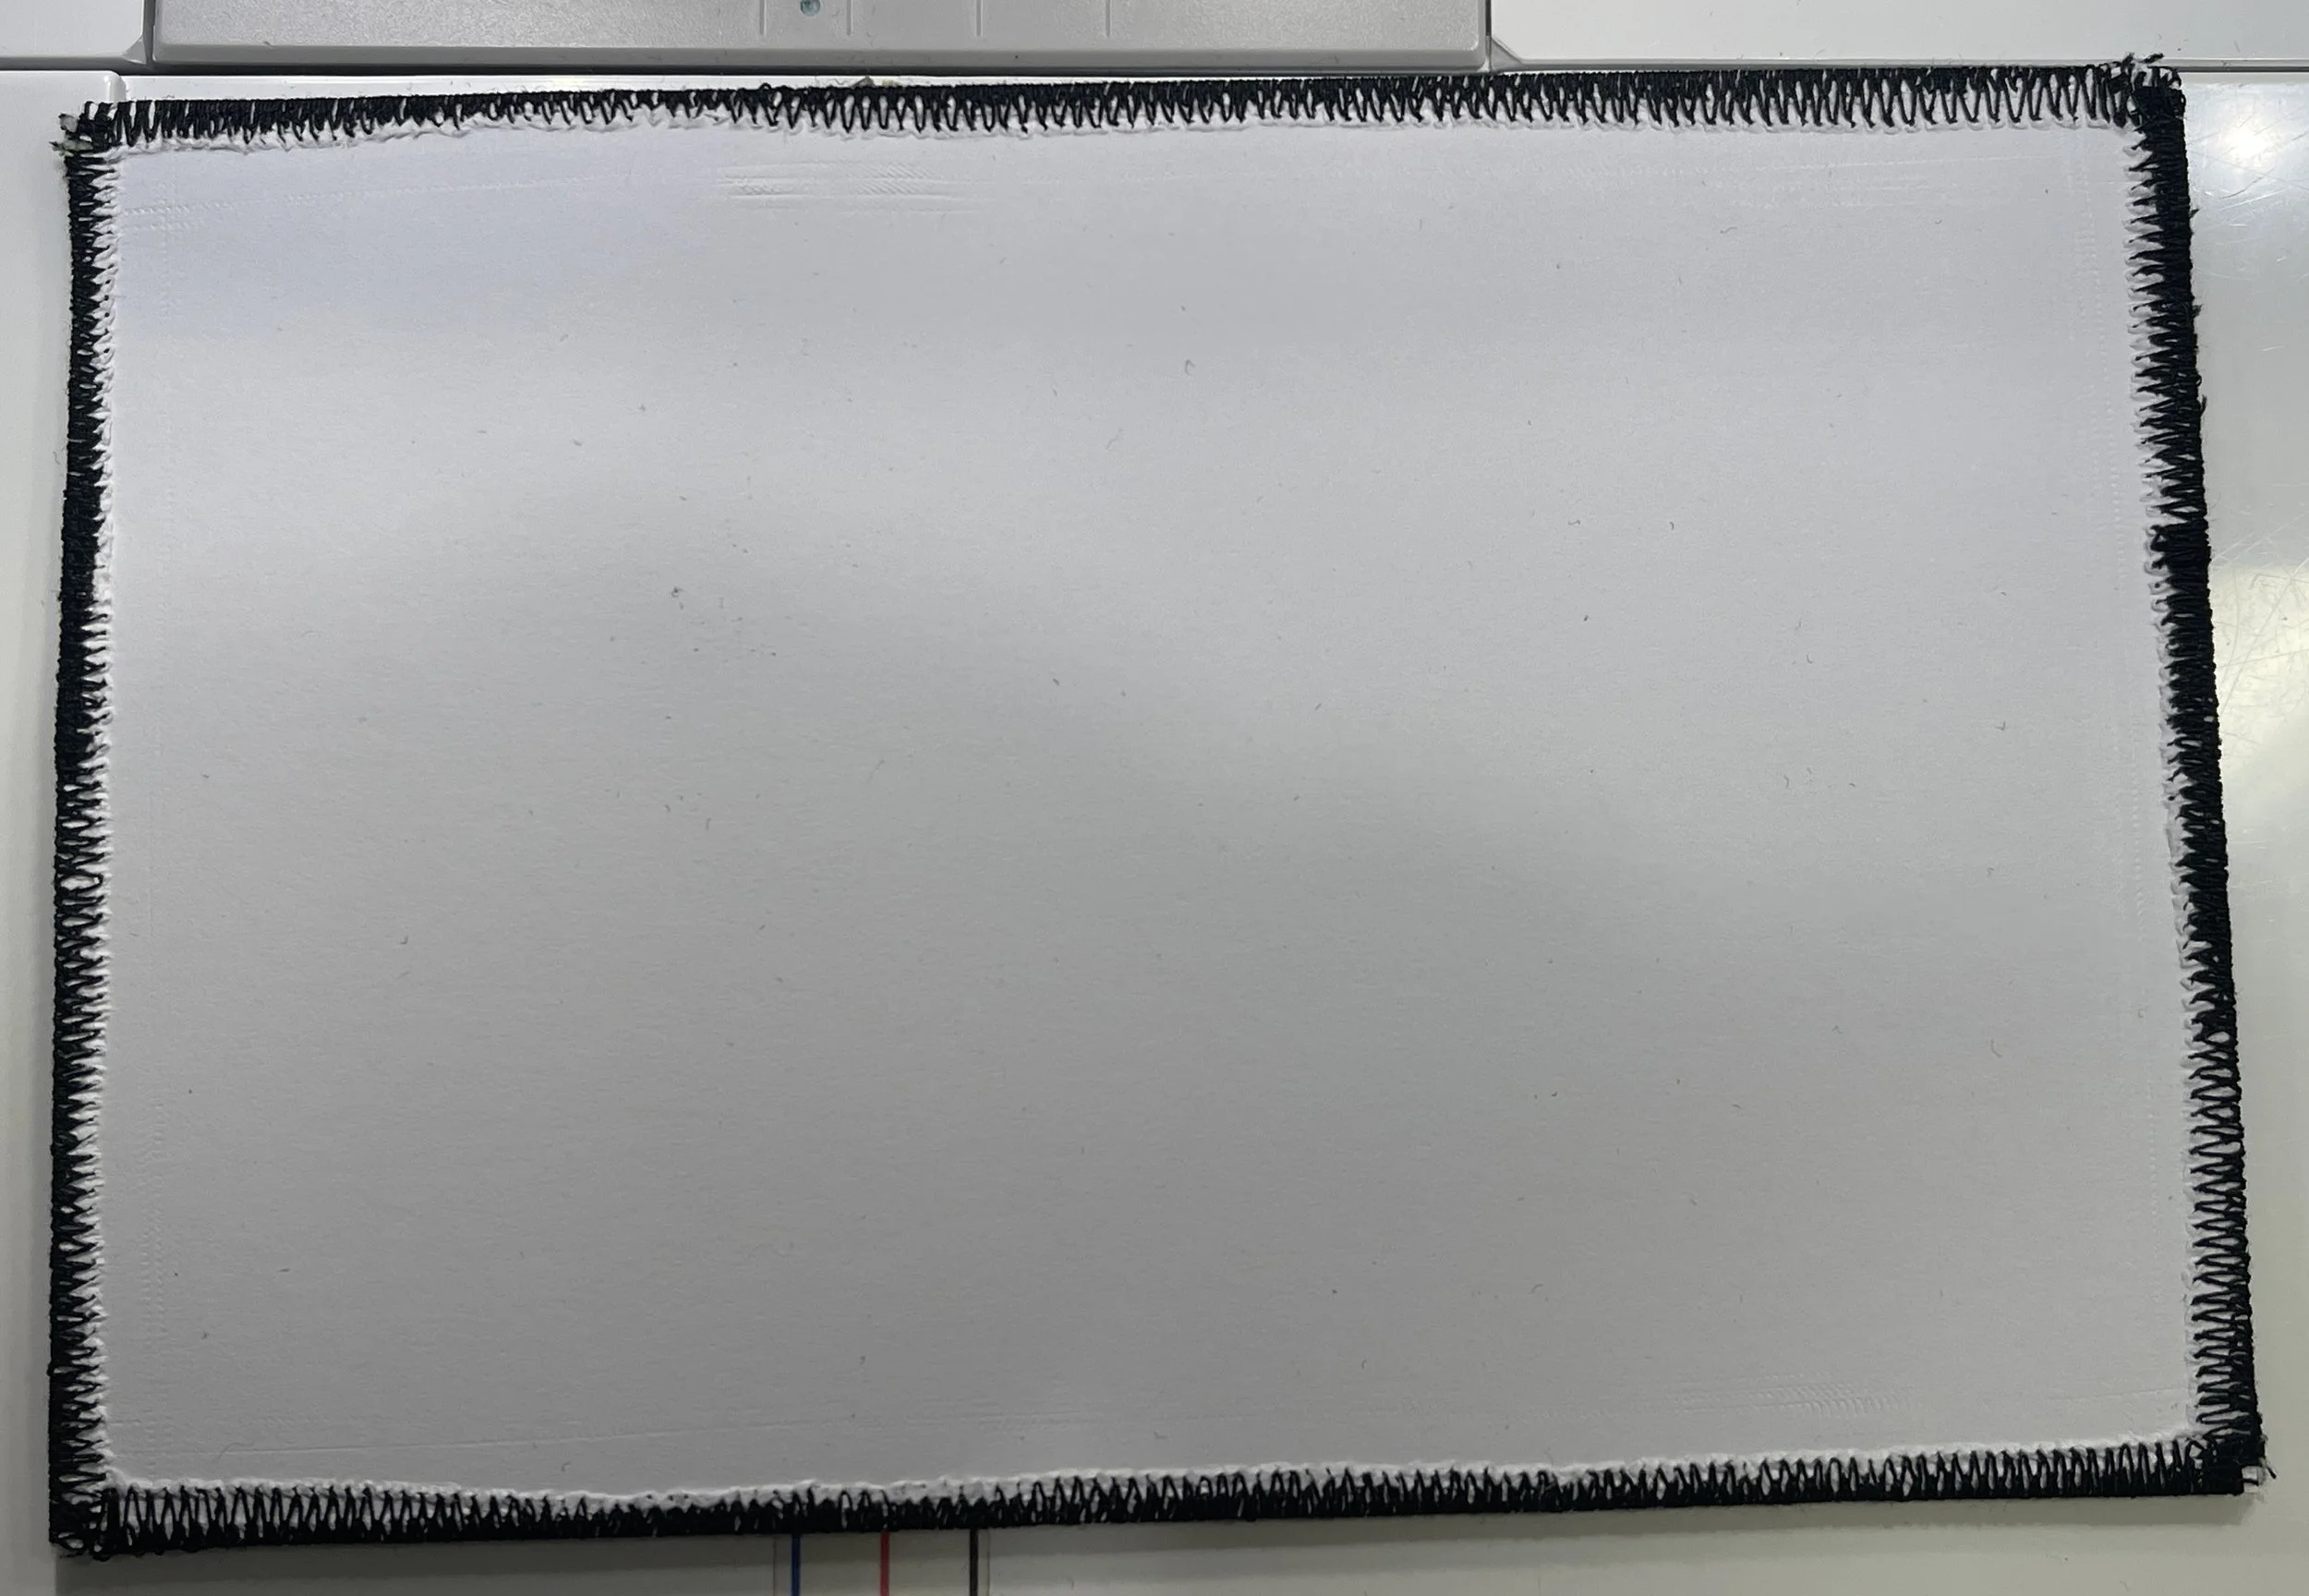
Trim the fabric, batting, and card stock to a 4” X 6” size.
Using a thread choice that compliments your postcard image, stitch around all four edges with a zig-zag stitch. I like to go around mine with a smaller stitch and then a wider stitch to make sure that I have caught all the edges and the fabric will not come off of the card stock in the future. (Before you begin this step audition width and length of the zig zag stitches on spare fabric so you find the look you want before you try it on your postcard. Write down what you like so when you make more fabric postcards in the future you don’t have to do the trial and error step again) For this postcard I chose black thread so it would blend in with the background fabric. Make sure your bobbin and top thread are the same color because both will show.
Stitch around all four sides, overlapping where you began with a few stitches. Backstitch to secure the stitches.
Trim off any threads that are stray.
********************

All that is left to do is to write something on the back.
You can actually mail these with a regular stamp, but I choose to place them in a clear cellophane bag and place it in an envelope. That way it will keep the fabric postcard from getting accidentally damaged by the postal service.
********************
Here are some examples of others that I have made in the past.

I would love to see what you make. They can become addicting.
If you have any questions, please don’t hesitate to ask at hello@carolyn-sue-designs.com